(Updated on August 29, 2023.)
A company that develops and distributes products containing open source needs to collect and track information such as the version and license of the open source used, for each product and release version. This allows the company to carry out proper open source compliance activities.
In particular, when a security vulnerability is reported for a specific open source version at NVD (https://nvd.nist.gov/vuln), a company that cannot trace which products use that version ends up unable to determine which products need the security patch applied, leaving its products exposed to the vulnerability.
This makes tracking open source information a necessity. Companies address this either by building their own system or by purchasing and using a commercial service. SW360 is open source software sponsored by the Eclipse Foundation, providing a web application and repository for collecting and tracking software Bill of Materials (BOM) information.

Key Features
SW360 provides a web-based UI, and its key functions are as follows.
- Tracking components used in a product
- Security vulnerability assessment
- License obligation management
- Generating legal documents such as notices

Installation
SW360 is composed as follows.
- Frontend : Liferay-(Tomcat-)based portal application
- Backend : Tomcat-based thrift service
- Database : CouchDB
For details on the project structure and the software required for installation, see the Required software section of the README. : https://github.com/eclipse-sw360/sw360
SW360 offers the following installation methods. Users can choose one of them for installation.
- Can be deployed via Docker. : https://github.com/eclipse-sw360/sw360/blob/main/README_DOCKER.md
- Can install SW360’s components individually. : https://github.com/eclipse/sw360
- Vagrant-based (https://www.vagrantup.com/) installation: Vagrant is a tool for managing virtualized instances, and sw360vagrant provides an environment for deploying SW360 all at once. : https://github.com/sw360/sw360vagrant
- The Vagrant-based installation guide can be found here. (Note: because the code has changed since the guide was written, it may not work correctly.)
This guide introduces the method of deploying with Docker. For details, refer to the README. : https://github.com/eclipse-sw360/sw360/blob/main/README_DOCKER.md
1. Download the Code
Download the code to build the Docker image. The tested code can be obtained here. : https://github.com/haksungjang/sw360/tree/docker_build
git clone -b docker_build https://github.com/haksungjang/sw360.git
2. Build
First, install Docker. (Note that a paid purchase may be required for corporate developer use.)
Build by running docker_build.sh as shown below.
cd sw360
./docker_build.sh
Once the build completes successfully, you can check the created images as shown below.
docker image ls

REPOSITORY                       TAG              IMAGE ID       CREATED          SIZE
eclipse-sw360/sw360              18-development   ab0fd848bf80   8 minutes ago    2.95GB
eclipse-sw360/sw360              latest           ab0fd848bf80   8 minutes ago    2.95GB
ghcr.io/eclipse-sw360/sw360      18-development   ab0fd848bf80   8 minutes ago    2.95GB
ghcr.io/eclipse-sw360/sw360      latest           ab0fd848bf80   8 minutes ago    2.95GB
eclipse-sw360/binaries           18-development   aa7debf0a1fc   8 minutes ago    347MB
eclipse-sw360/binaries           latest           aa7debf0a1fc   8 minutes ago    347MB
ghcr.io/eclipse-sw360/binaries   18-development   aa7debf0a1fc   8 minutes ago    347MB
ghcr.io/eclipse-sw360/binaries   latest           aa7debf0a1fc   8 minutes ago    347MB
eclipse-sw360/base               18-development   e5147733fc88   37 minutes ago   1.52GB
eclipse-sw360/base               latest           e5147733fc88   37 minutes ago   1.52GB
ghcr.io/eclipse-sw360/base       18-development   e5147733fc88   37 minutes ago   1.52GB
ghcr.io/eclipse-sw360/base       latest           e5147733fc88   37 minutes ago   1.52GB
ghcr.io/eclipse-sw360/thrift     0.18.1           0012d7998058   4 weeks ago      152MB
ghcr.io/eclipse-sw360/thrift     latest           0012d7998058   4 weeks ago      152MB
eclipse-sw360/thrift             0.18.1           0012d7998058   4 weeks ago      152MB
eclipse-sw360/thrift             latest           0012d7998058   4 weeks ago      152MB
3. Run
Run the created images with the docker-compose up command.
docker-compose up
Once it runs successfully, you can see three containers running as shown below.
docker ps

CONTAINER ID   IMAGE                 COMMAND                  CREATED         STATUS                   PORTS                                              NAMES
4299fd39010c   eclipse-sw360/sw360   "/app/entry_point.sh"    3 minutes ago   Up 3 minutes             0.0.0.0:8080->8080/tcp, 0.0.0.0:11311->11311/tcp   sw360
13fd5696b140   postgres:14           "docker-entrypoint.s…"   3 minutes ago   Up 3 minutes (healthy)   0.0.0.0:5438->5432/tcp                             sw360-postgresdb-1
7bb70f2daaf4   couchdb               "tini -- /docker-ent…"   3 minutes ago   Up 3 minutes (healthy)   4369/tcp, 9100/tcp, 0.0.0.0:5984->5984/tcp         sw360-couchdb-1
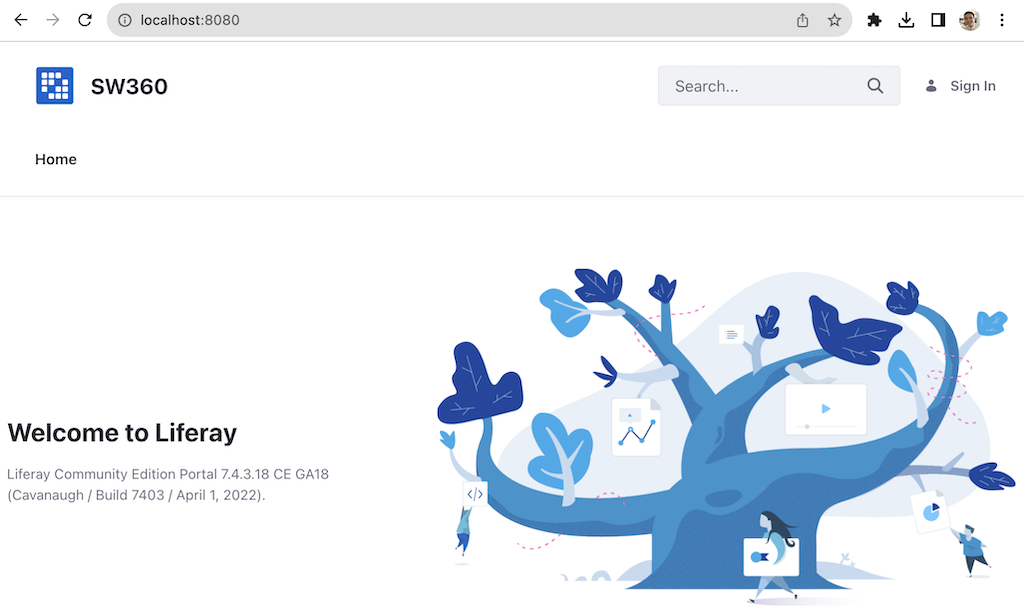
At this point, accessing http://localhost:8080/ takes you to the following screen.
Configuration
After installing SW360 successfully, you need to perform the initial configuration following the procedure below. For details, see: SW360 Initial Setup Configuration
1. User and Login Configuration
Log in with the following account to perform the configuration.
- id : setup@sw360.org
- pw : sw360fossy
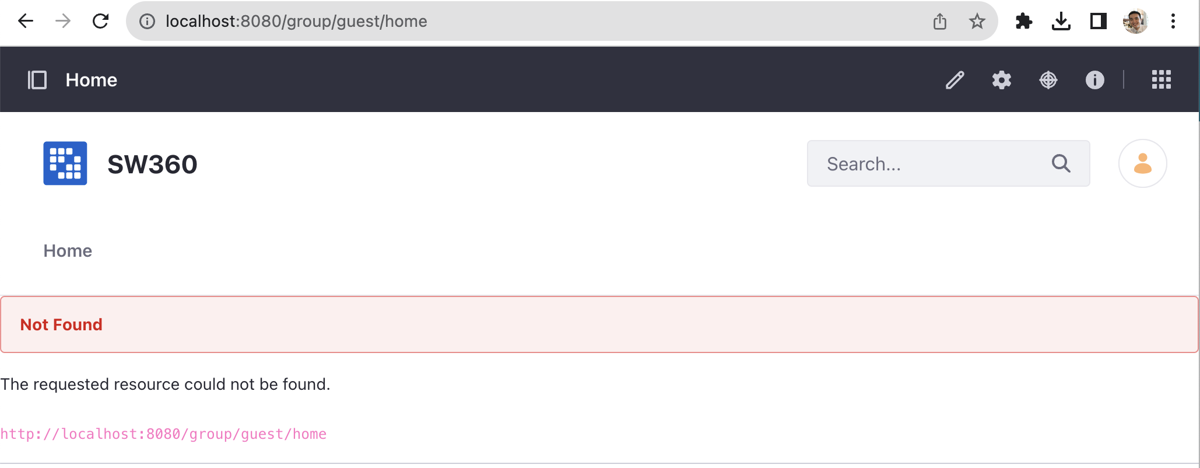
Once you log in, a Not Found message appears as shown below.
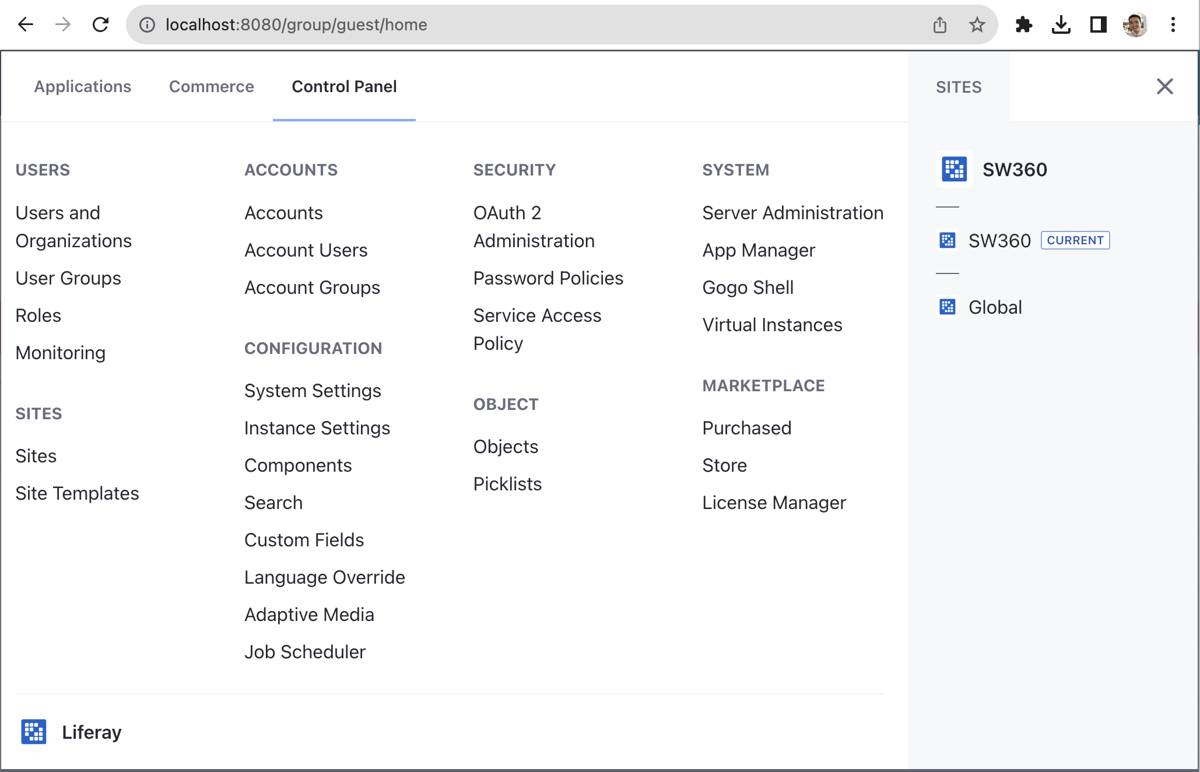
Click the item icon (cube shape) in the upper right of the screen and select the Control Panel tab.
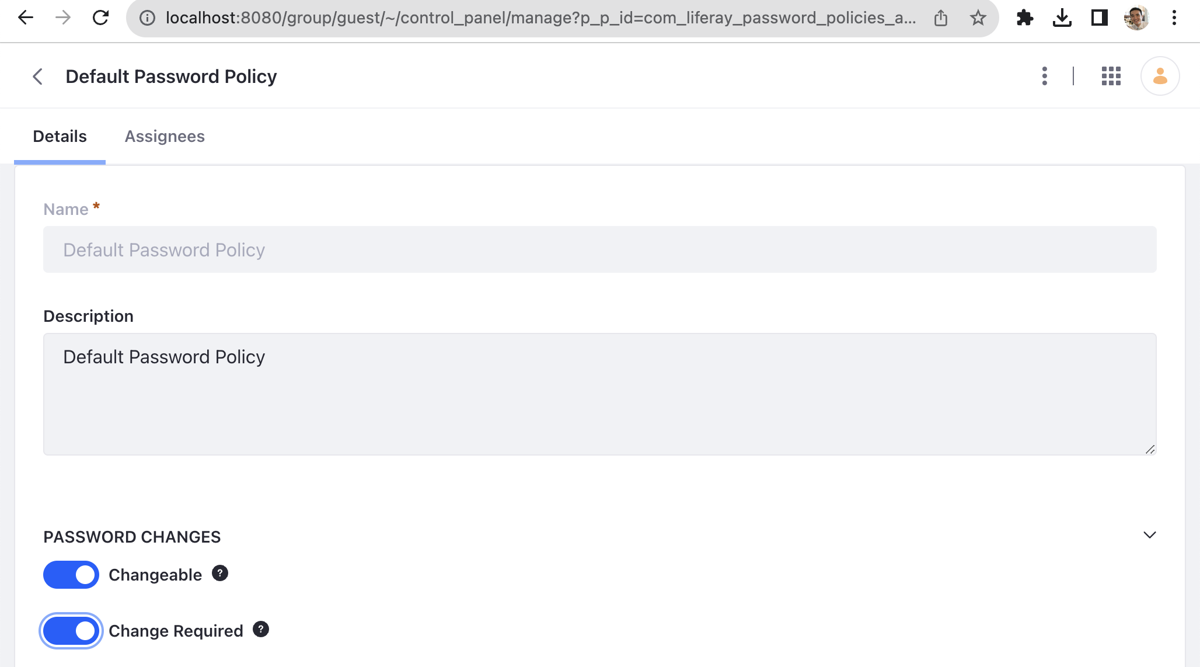
Enable SECURITY > Password Policies > Default Password Policy > PASSWORD CHANGES > Change Requried.
Then, back in the Control Panel tab, select CONFIGURATION > Instance Settings. This shows the PLATFORM menu.
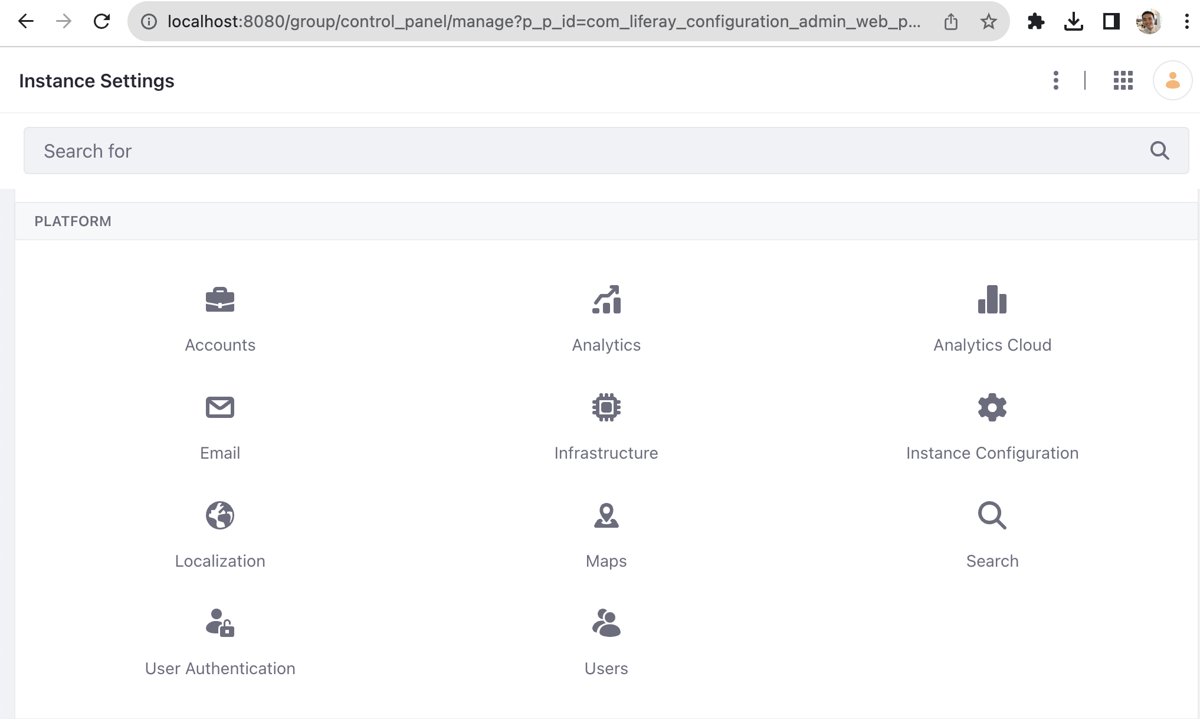
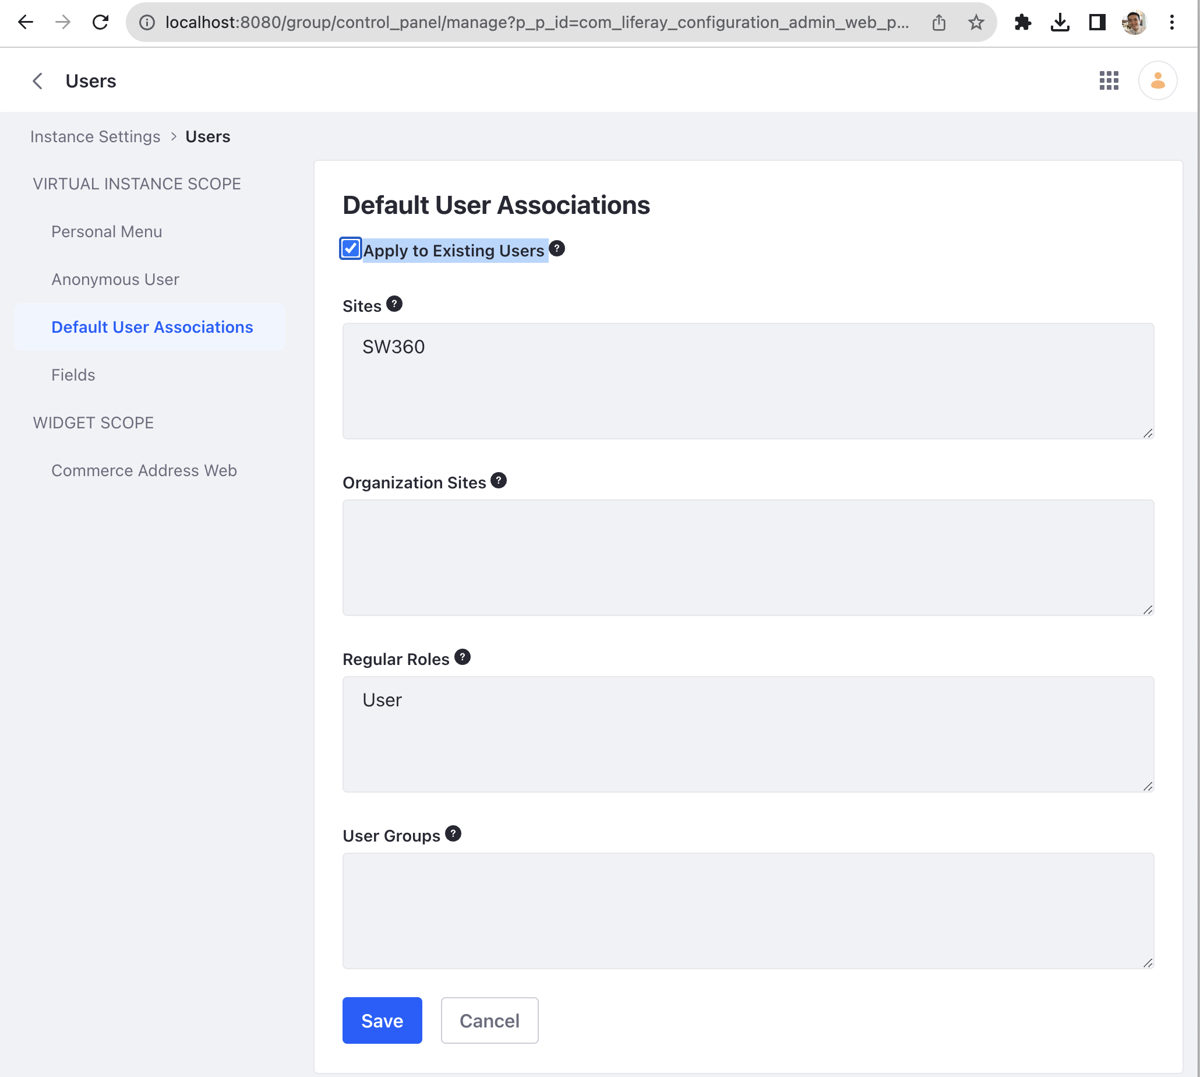
There, select Users. Then go into the Default User Associations menu, check Apply to Existing Users, and Save.
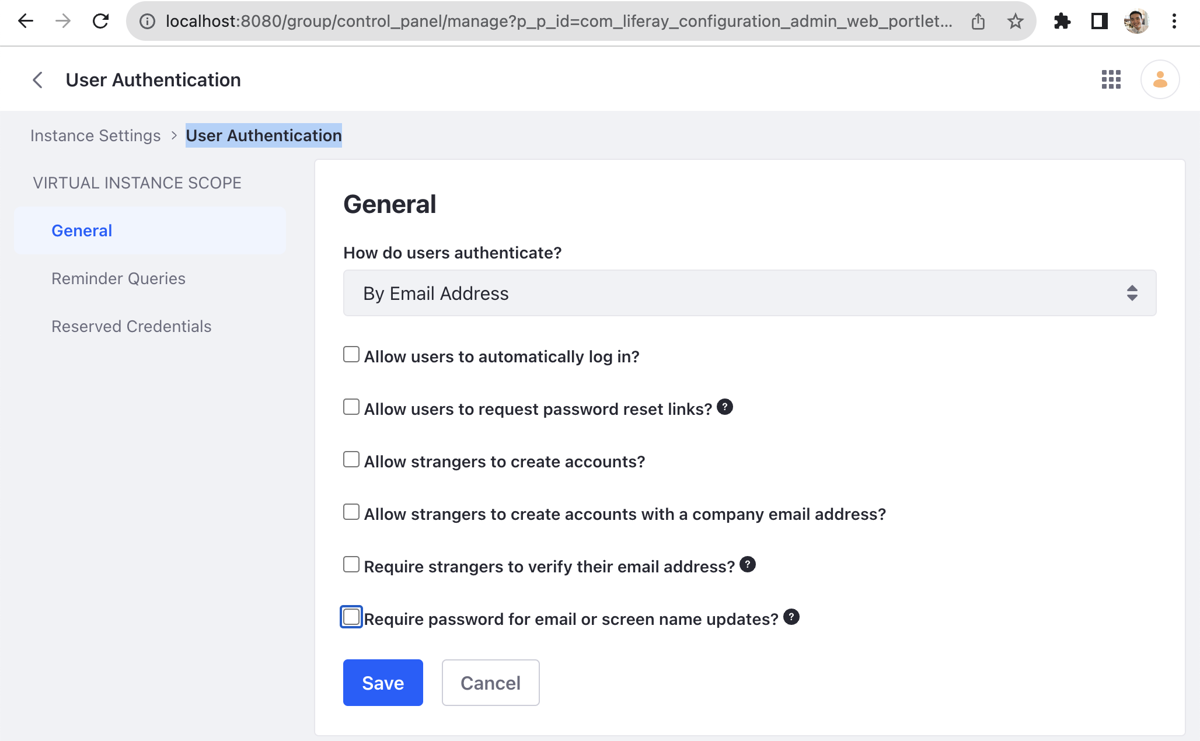
Now, under Instance Settings > PLATFORM, select User Authentication. Go into General and uncheck all items. (You can check and enable any items needed for administrative purposes.) Then Save.
Finally, you need to enable jQuery and Font Awesome. To do this, go into CONFIGURATION > System Settings in the Control Panel tab, where you can find Third Party under PLATFORM.
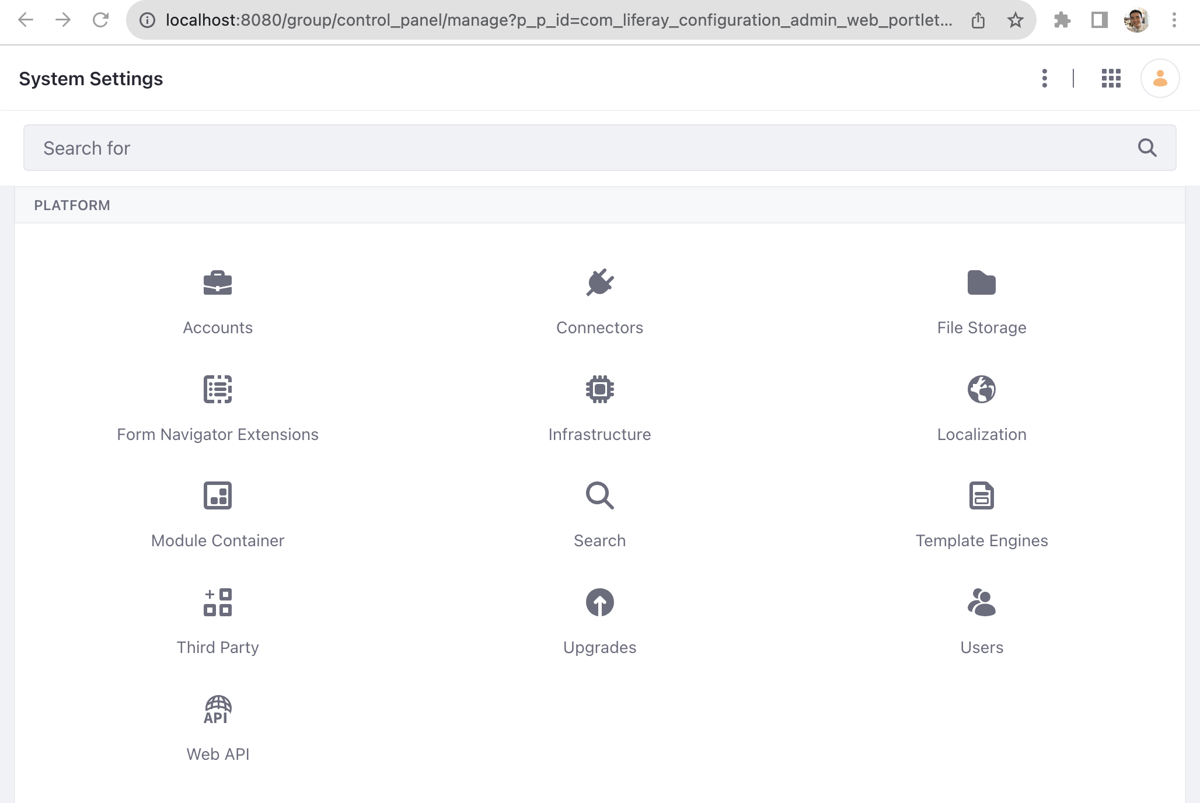
Go into Third Party and enable JQuery and Font Awesome respectively.
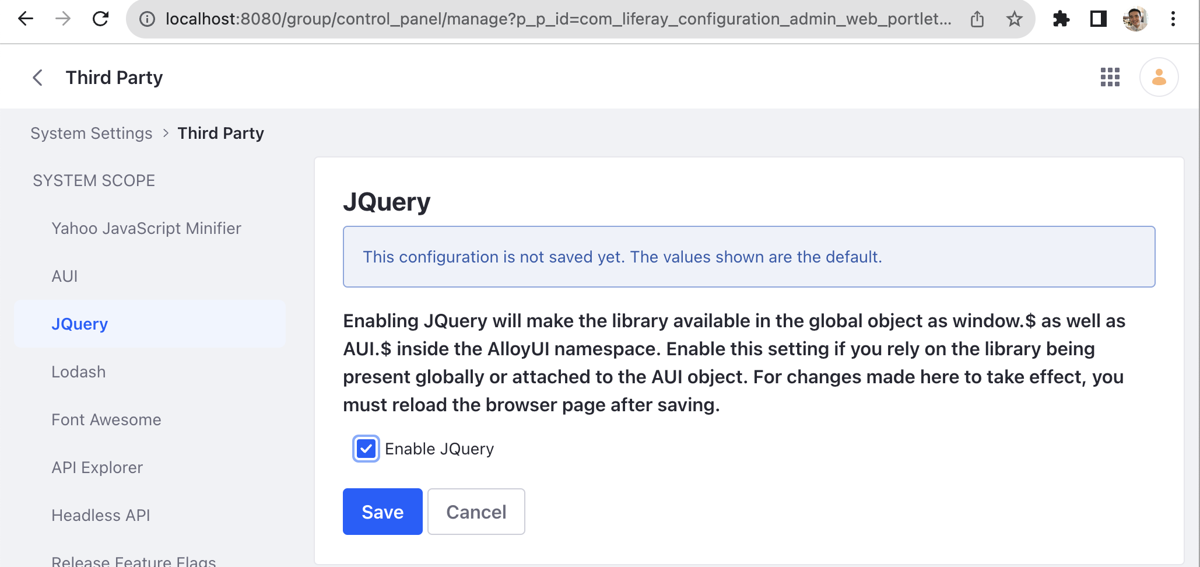
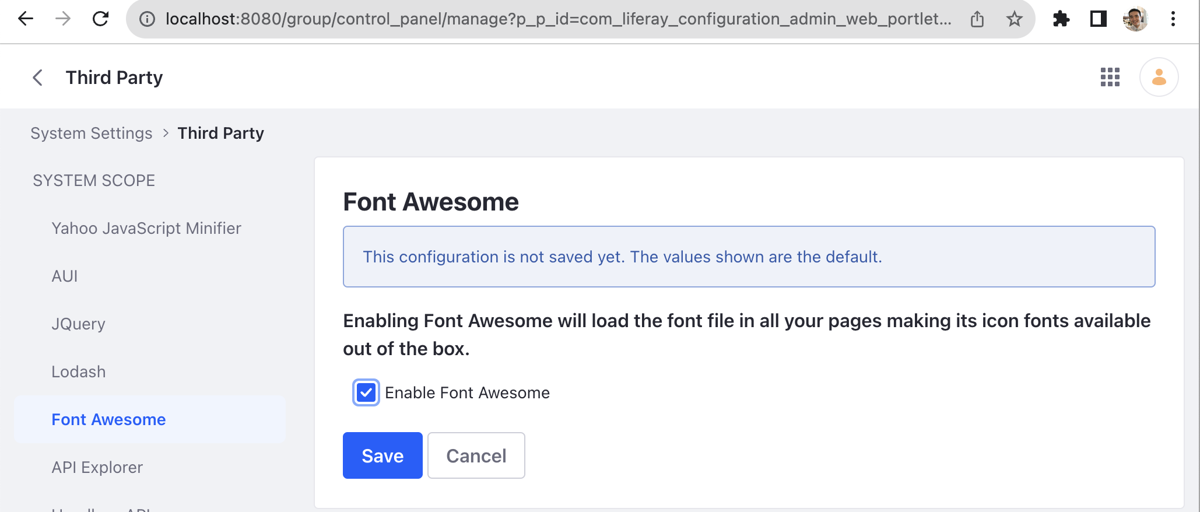
Restart your browser for the changes to take effect.
2. Import LAR Files
To configure SW360, you need to import the *.lar files. To do this, you need to go into the menu, and the menu button is in the upper left of the screen.
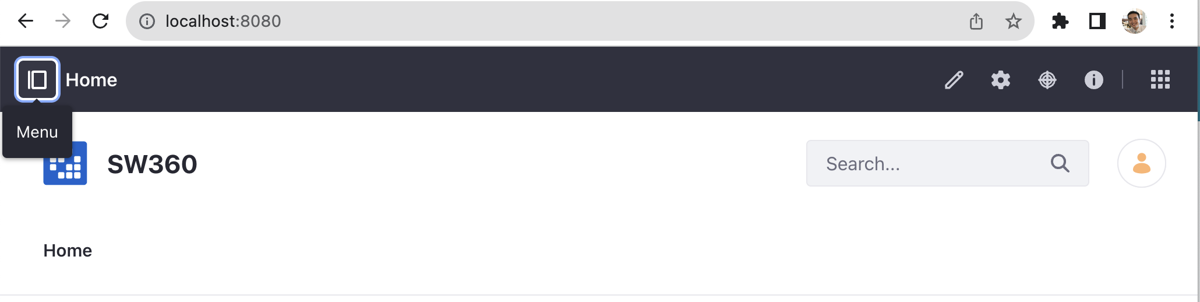
In the menu, go into Publishing > Import.
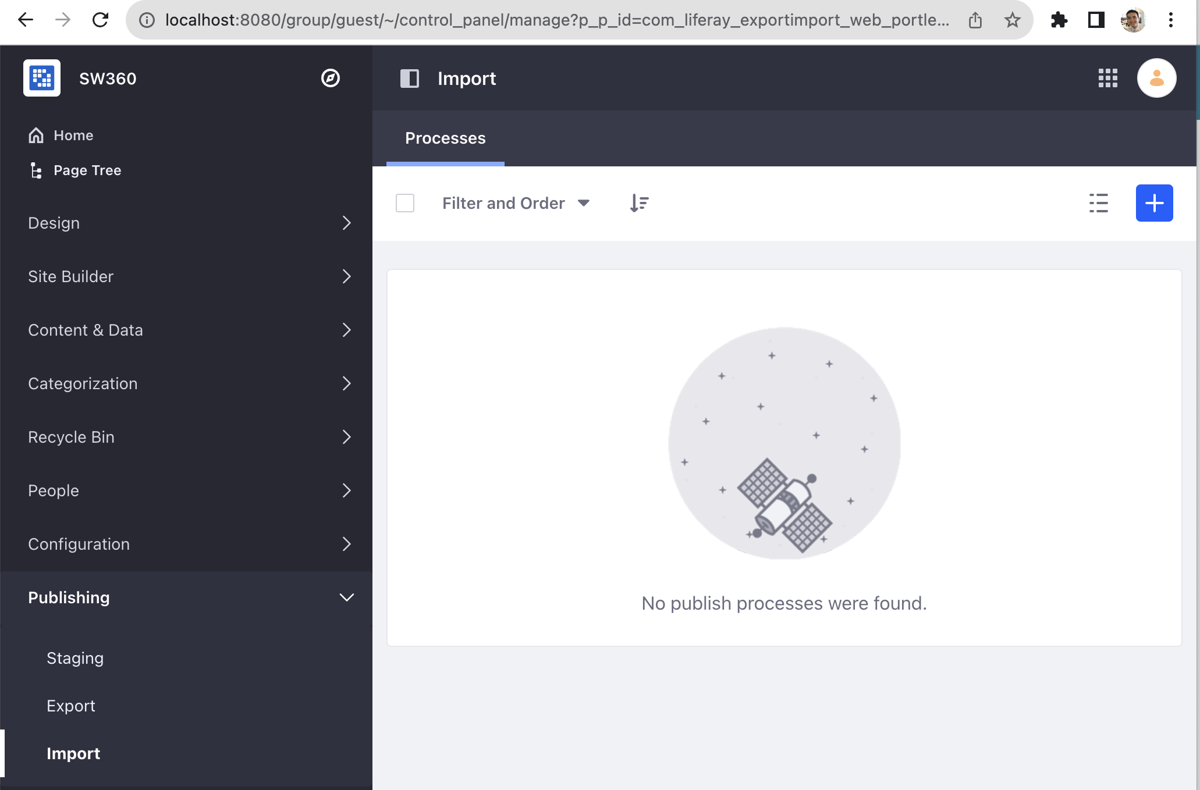
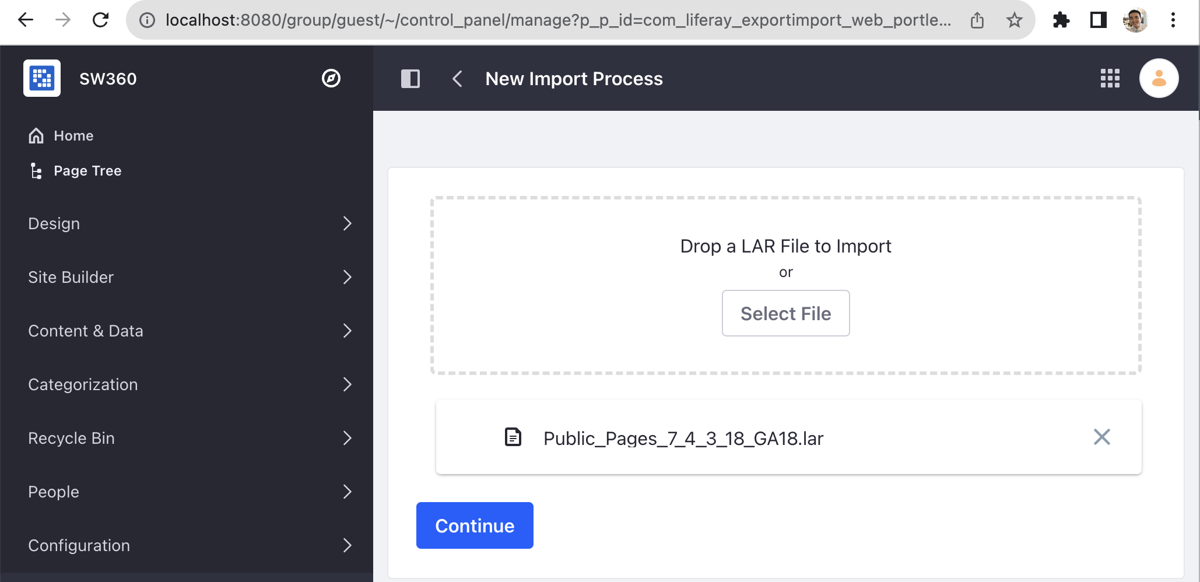
Click the + button on the right to upload a LAR file. The LAR files are located under the frontend/configuration folder in the SW360 source files. (e.g., https://github.com/haksungjang/sw360/tree/docker_build/frontend/configuration)
First, upload the Public_Pages_7_4_3_18_GA18.lar file and click the Continue button.
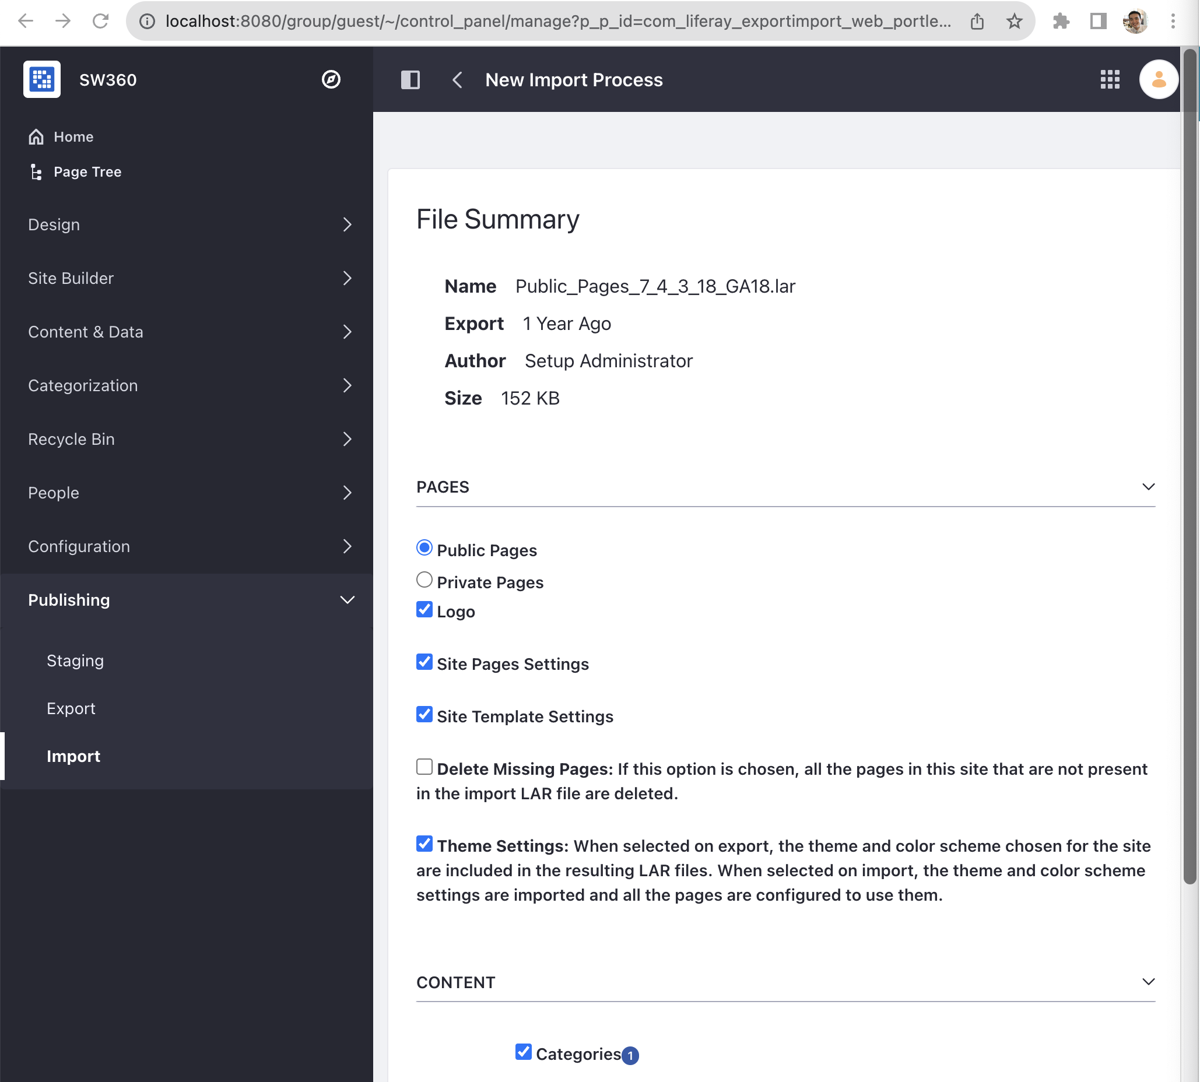
On the File Summary screen, you can see the details of the uploaded LAR file.
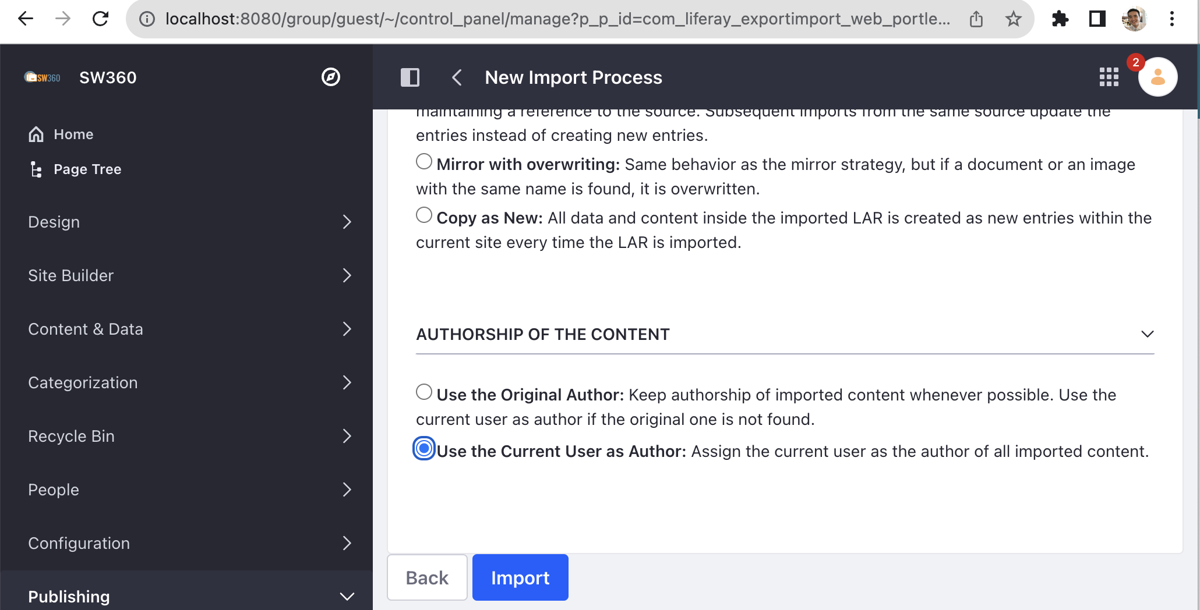
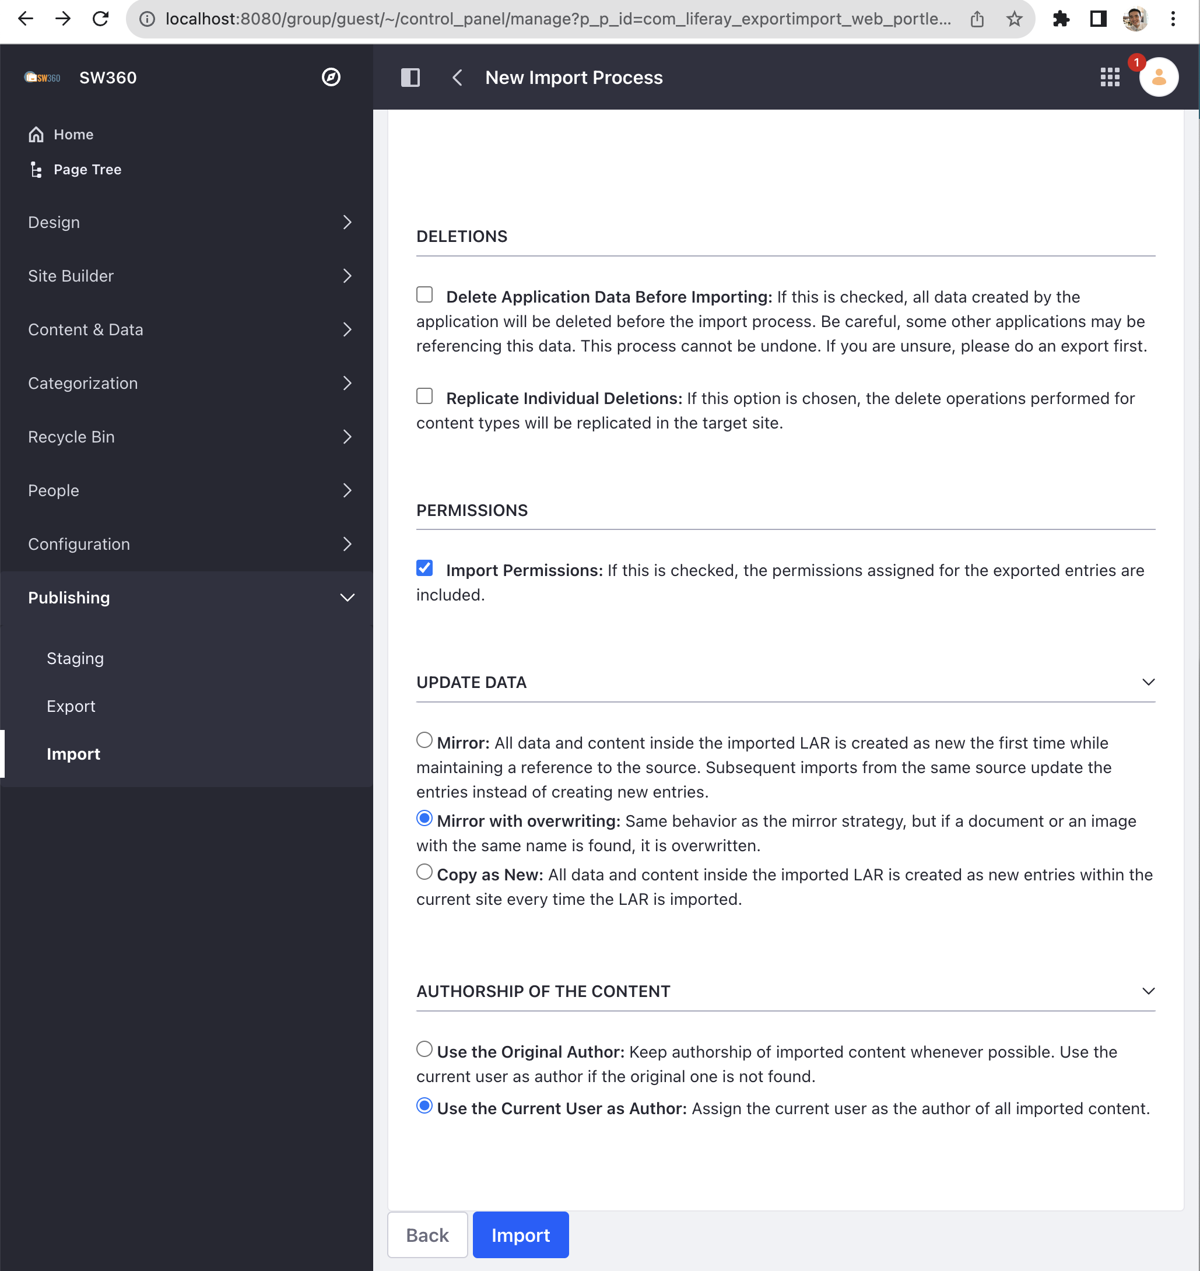
Change AUTHORSHIP OF THE CONTENT at the bottom to Use the Current User as Author and click the Import button.
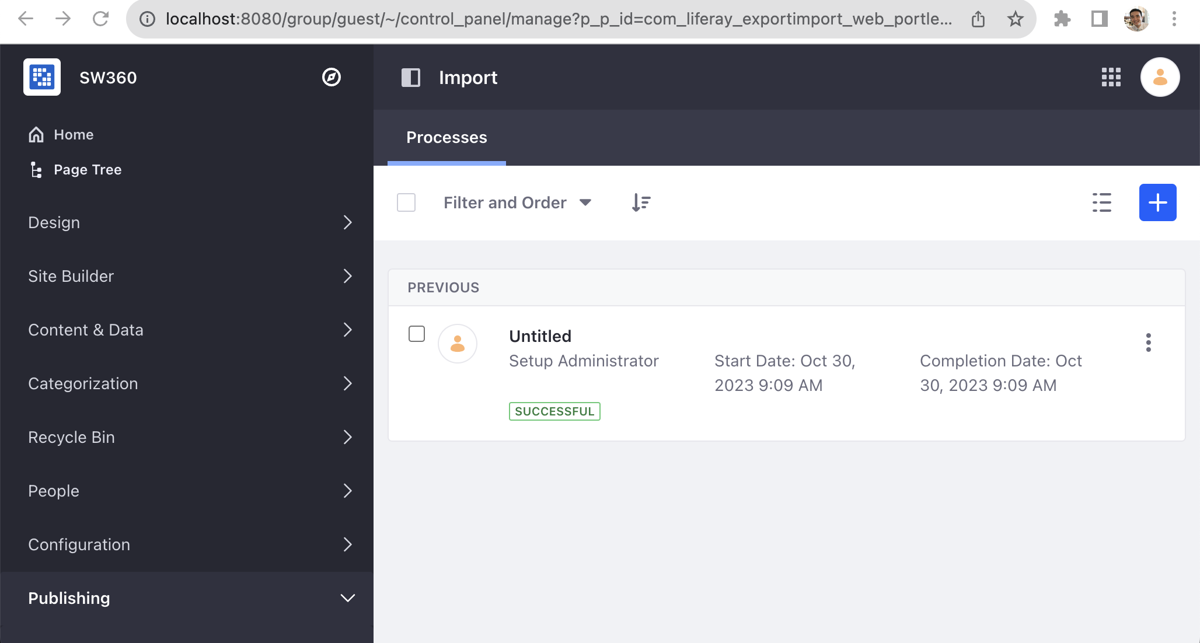
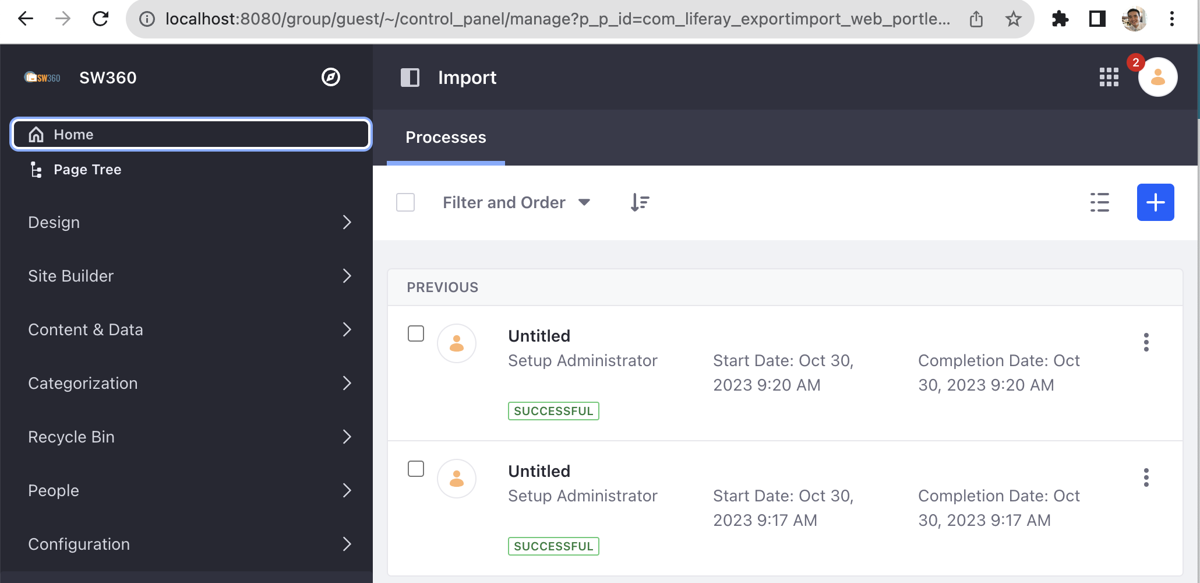
You can then see that the import completed successfully.
Similarly, import the Private_Pages_7_4_3_18_GA18.lar file. On the File Summary screen, change PAGES > Private Pages as shown below.
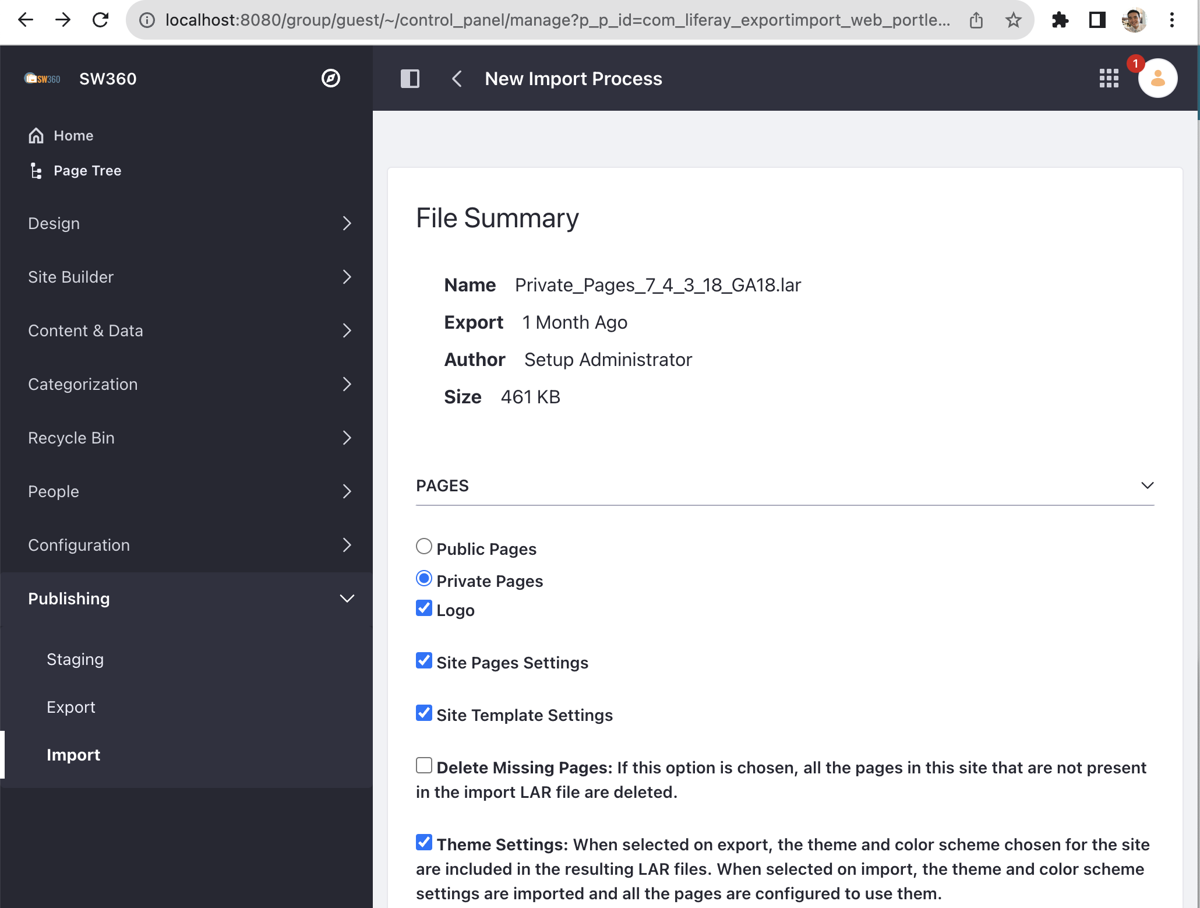
Then select the PERMISSIONS, UPDATE DATA, and AUTHORSHIP OF THE CONTENT items as shown in the image below, and click the Import button to perform the import.
After completing this, click the Home button at the top of the menu.
This takes you to the Welcome to SW360! screen shown below.
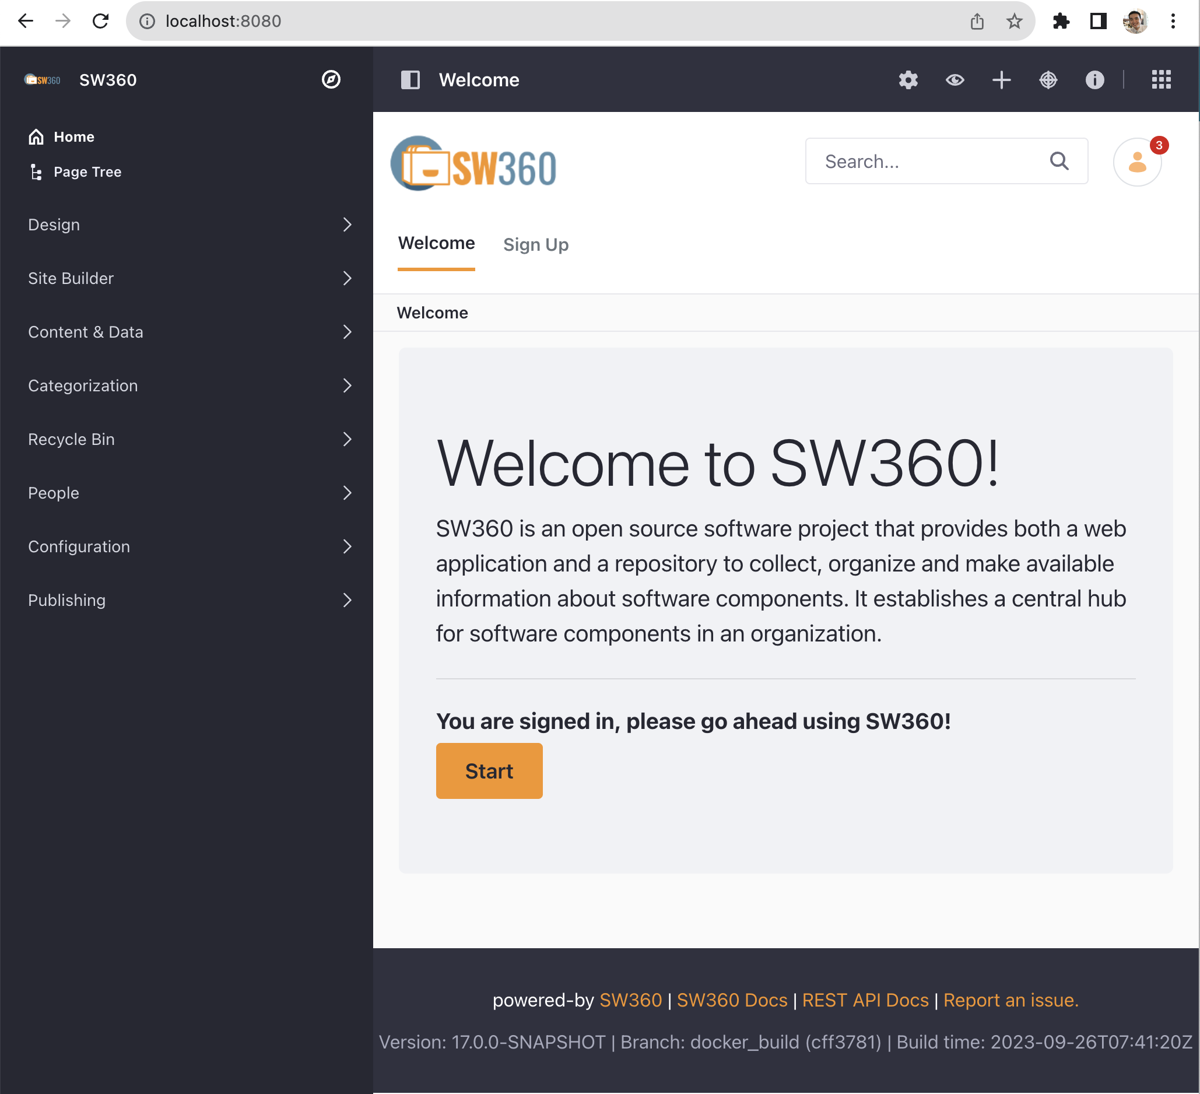
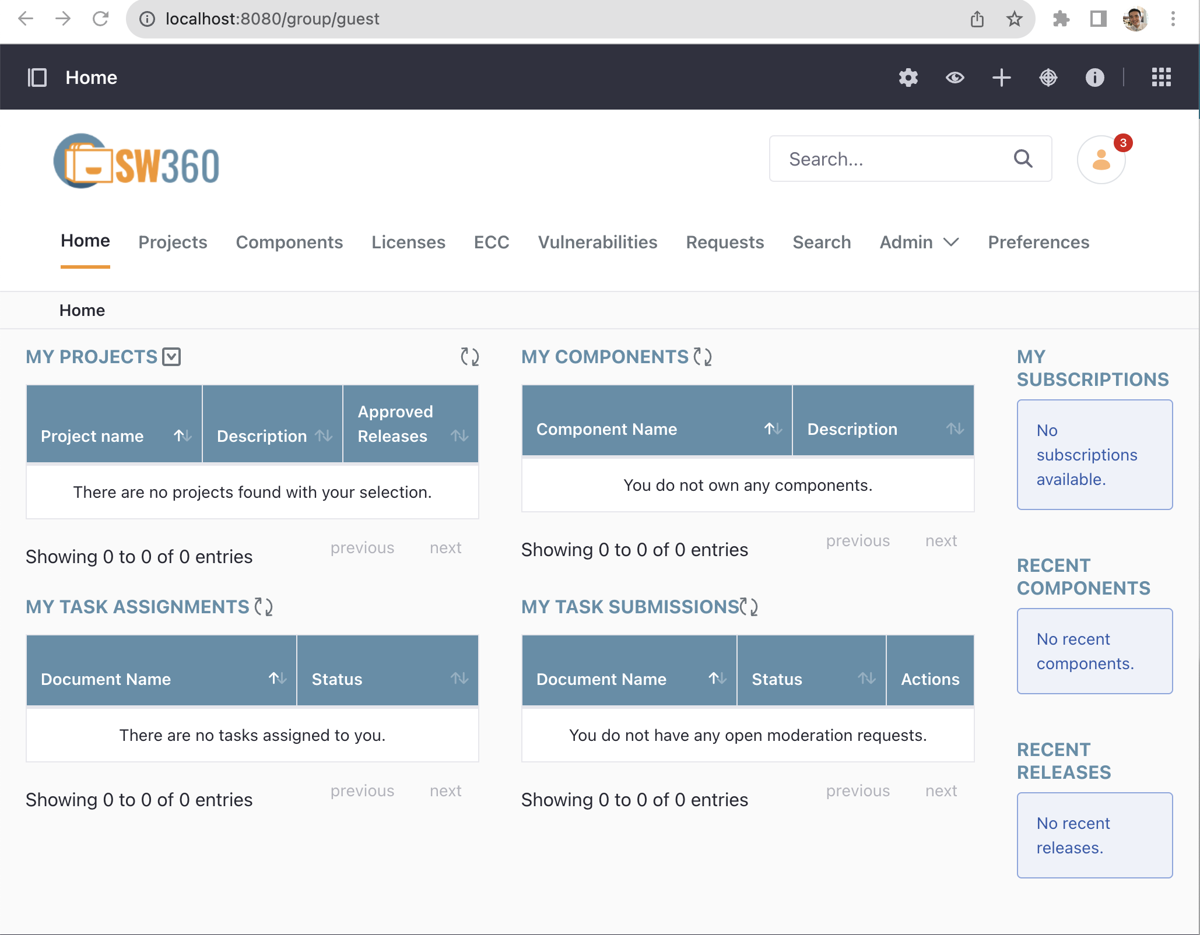
Click the Start button to go into the SW360 main screen. (All items are empty at this point.)
3. User Account Configuration (for Testing)
In the SW360 menu, select Admin > User.
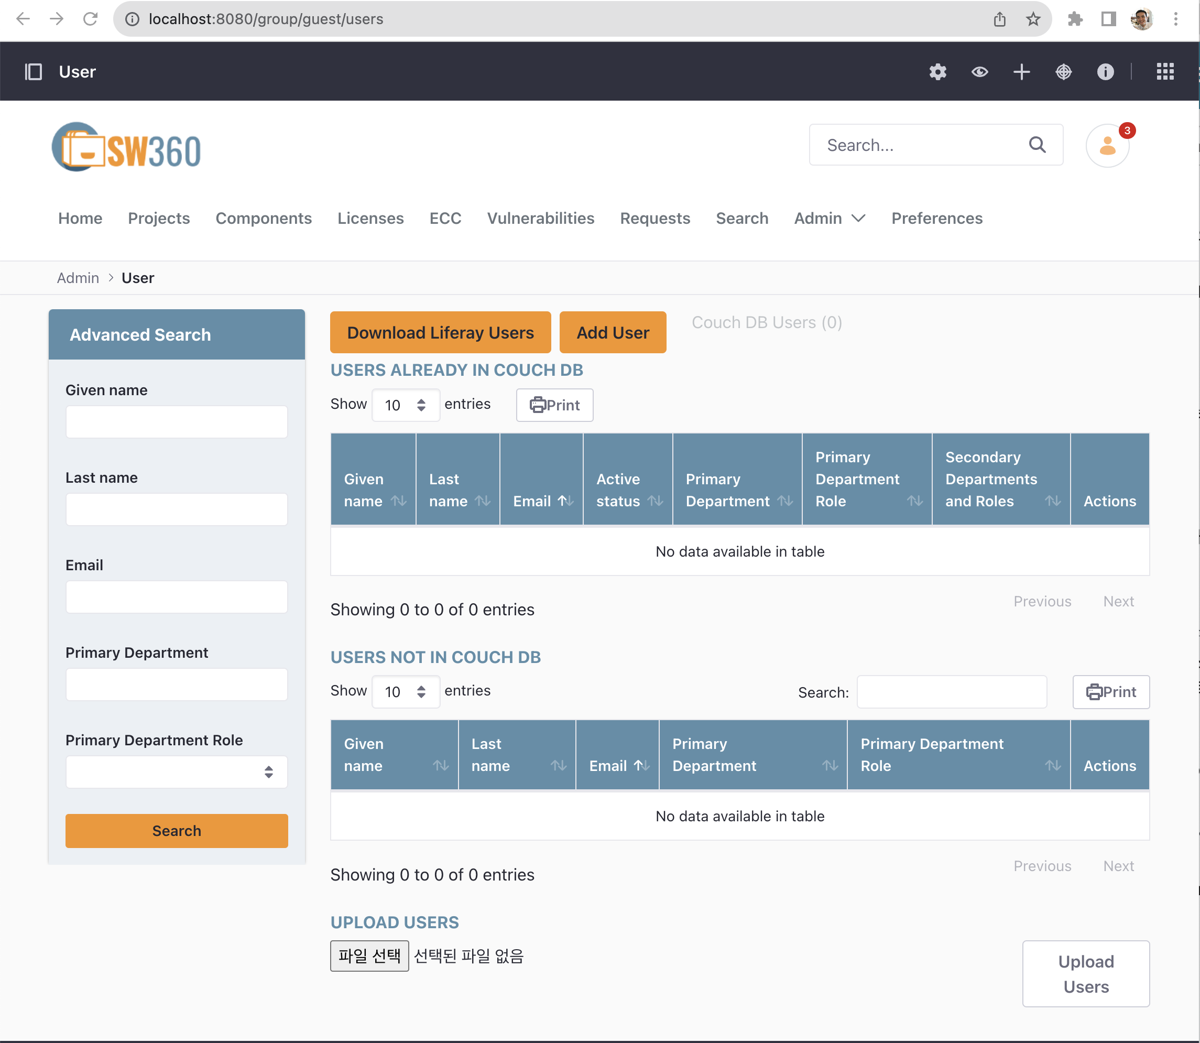
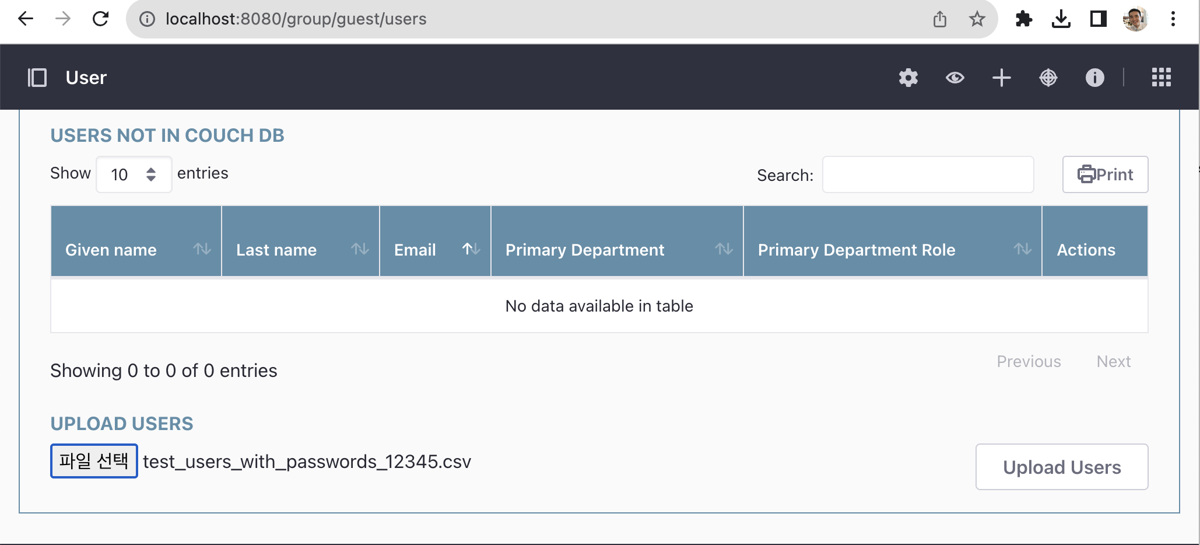
In the UPLOAD USERS menu at the bottom of the screen, upload the user list for testing. (The user list for testing can be downloaded here. : test_users_with_passwords_12345.csv )
You can then see that a list of 9 users has been uploaded, as shown below.
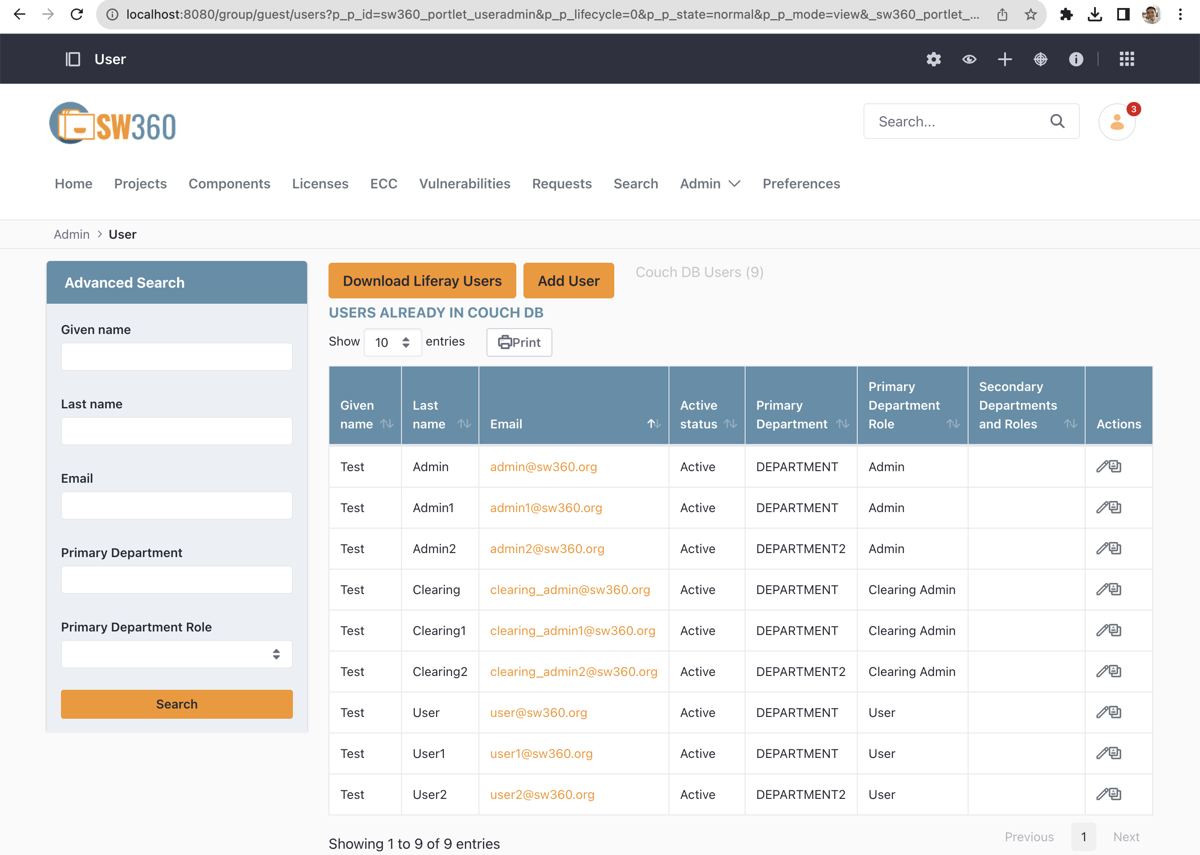
Try logging in again with the user@@sw360.org account, one of the users shown in the list. The password is 12345.
Basic Workflow
1. Registering Licenses
When you first install SW360, you need to first register the open source licenses you use frequently. A license includes the following information.
- Full Name
- Short Name
- License Type
- GPL-2.0 Compatibility (e.g., yes, no)
- License Text
Selecting Menu > Licenses > Add License takes you to the Create License screen shown below.
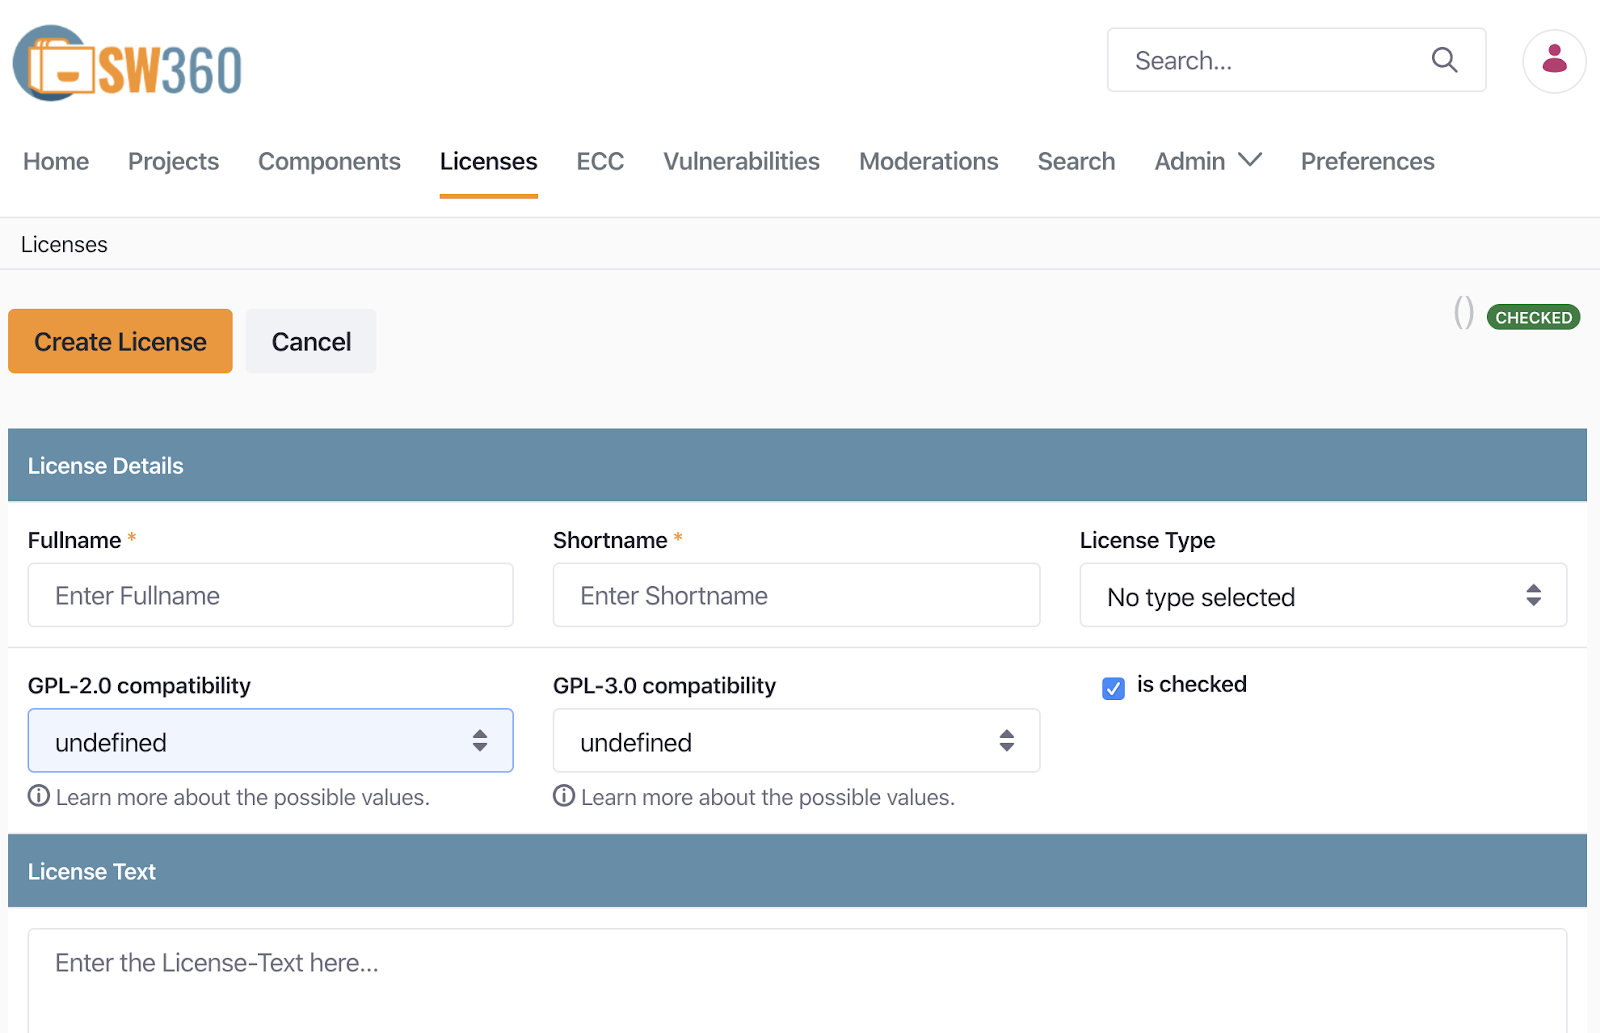
Registering licenses one by one manually like this can be quite tedious, but fortunately SW360 provides a feature to import the SPDX License List all at once. Click Menu > Admin < Import SPDX Information.
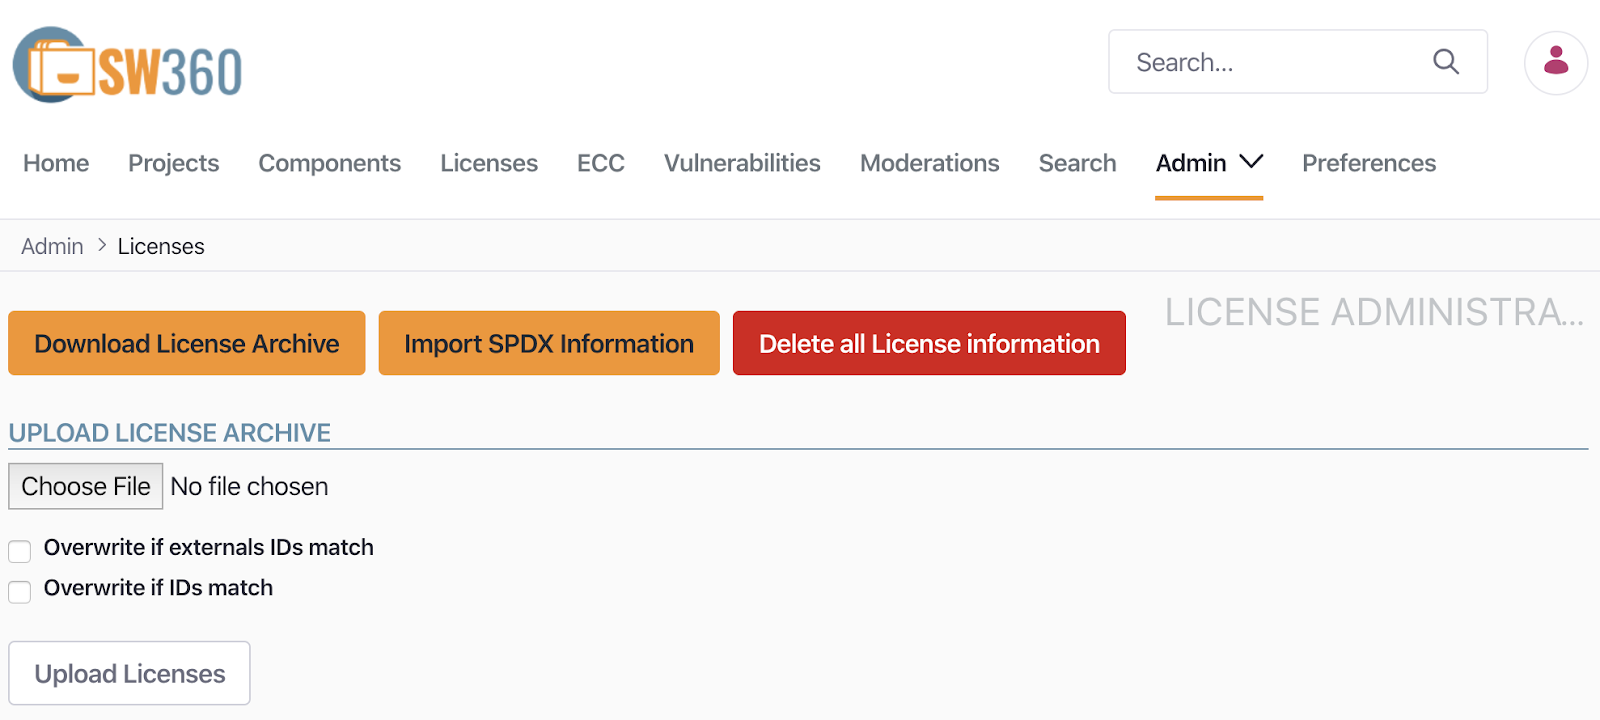
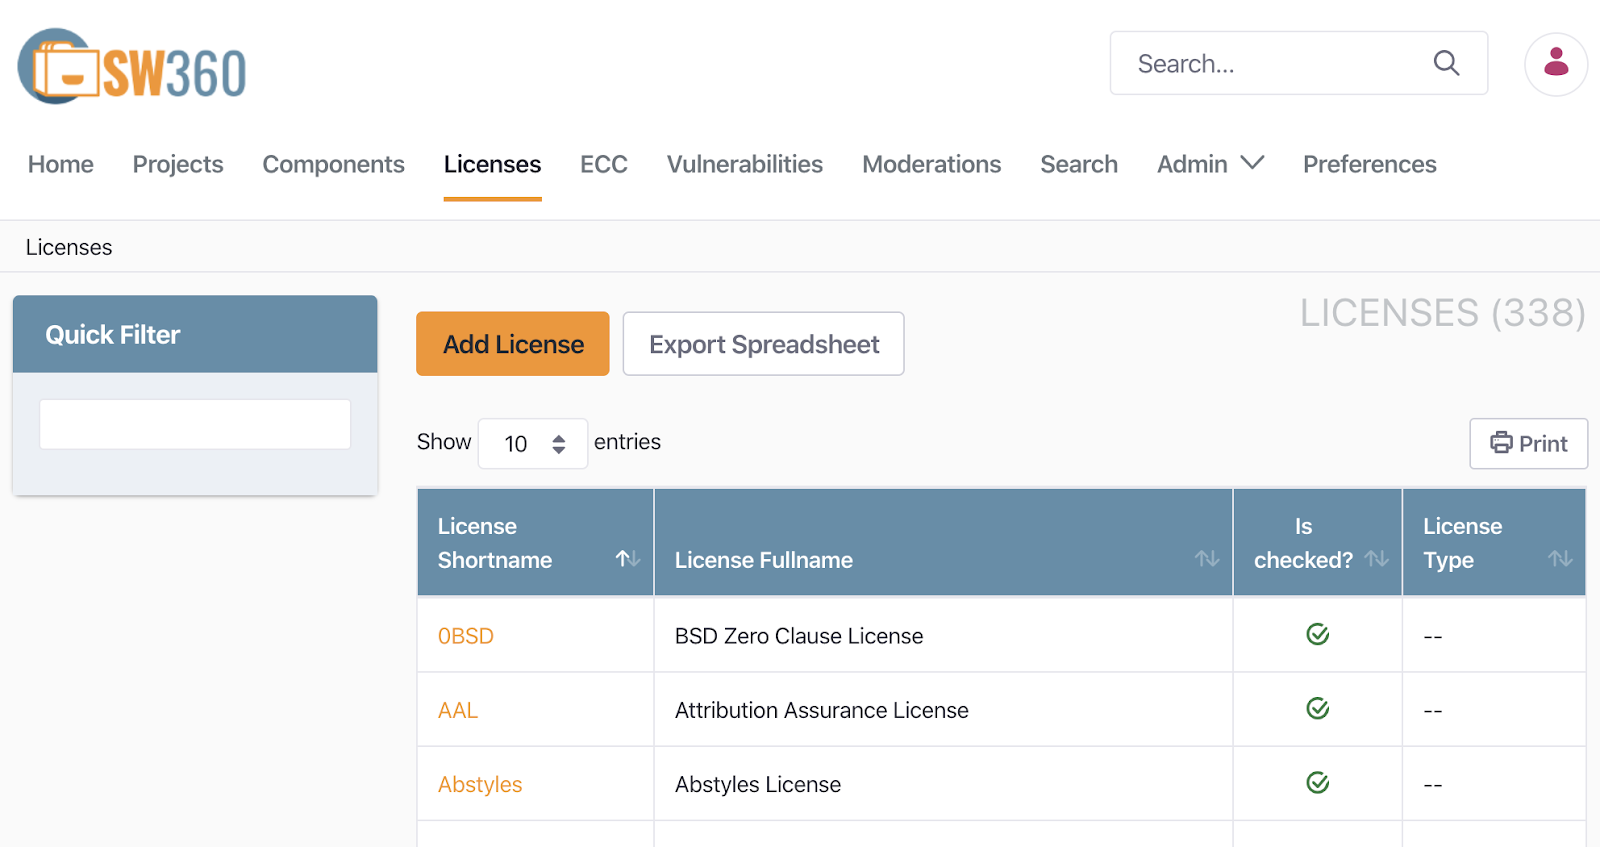
The SPDX License List is then automatically registered shortly after. At Menu > Licenses, you can confirm that 338 licenses have been registered.
2. Registering Components and Releases
In SW360, a Component is a single unit of software. Various forms of software can fall into this category, for example:
- Open source software
- Libraries
- Third-party software
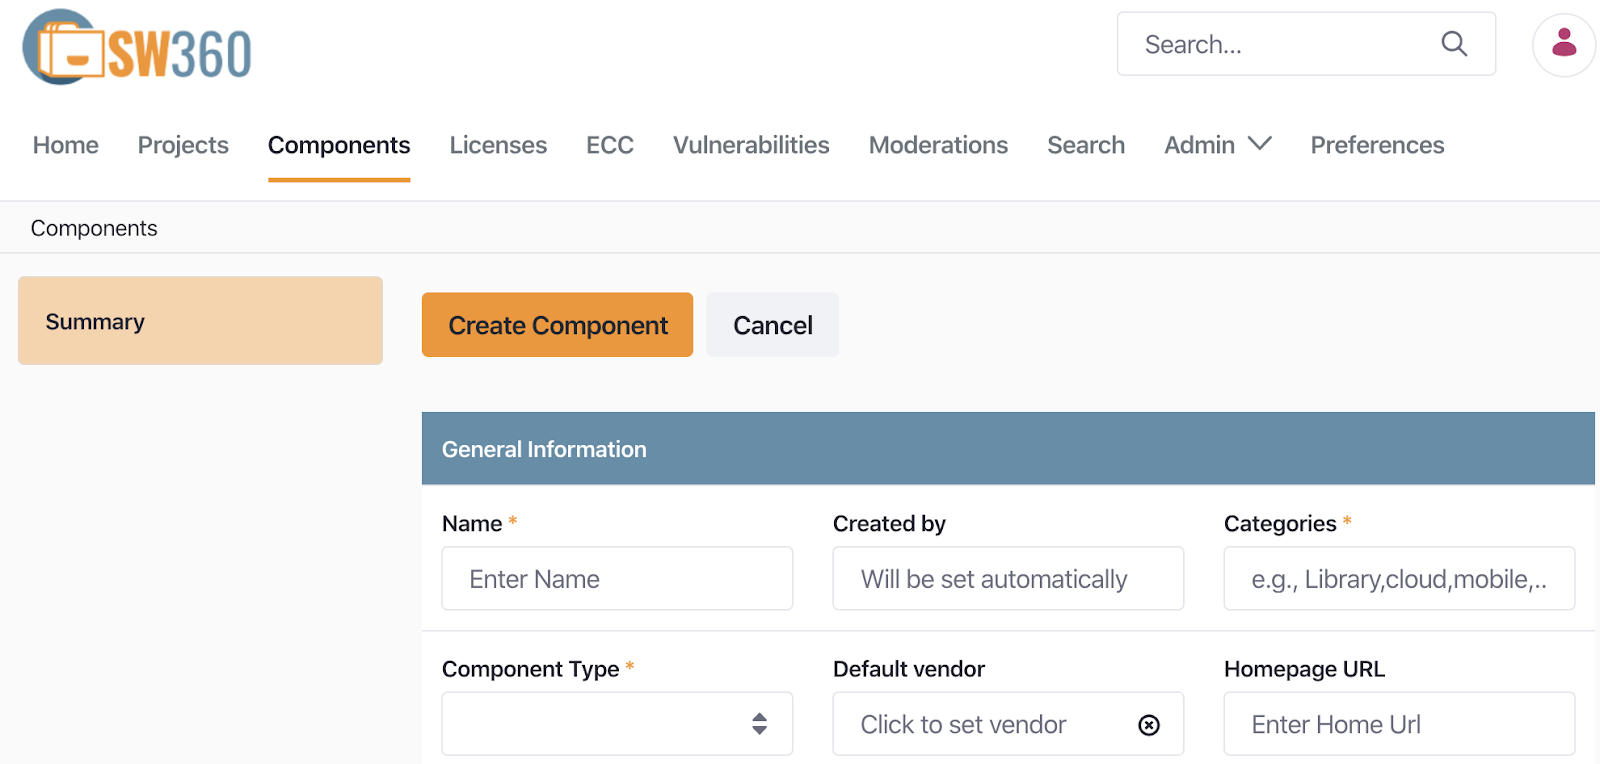
A Component includes the following information.
- Component Name
- Main Licenses
- Categories (e.g., Library, Cloud, Mobile, …)
- Component Type (e.g., OSS, Internal, InnerSource, Service, Freeware)
- Default Vendor
- Homepage URL
A Release is the unit that refers to a single Version within a Component. Accordingly, one Component can have multiple Releases. A Release is created and managed under a single Component.
A Release includes the following information.
- Component Name
- Version
- License
- Download URL
- CPE ID (e.g., cpe:2.3:a:apache:maven:3.0.4)
For example, if you need to register zlib-1.2.8, you first register zlib as a Component, then register zlib 1.2.8 as a Release. Selecting Menu > Components > Add Component takes you to the Create Component screen, where you can register information about zlib.
Once you create the Component, you can register information for the zlib-1.2.8 version at Components > Releases > Add Release.
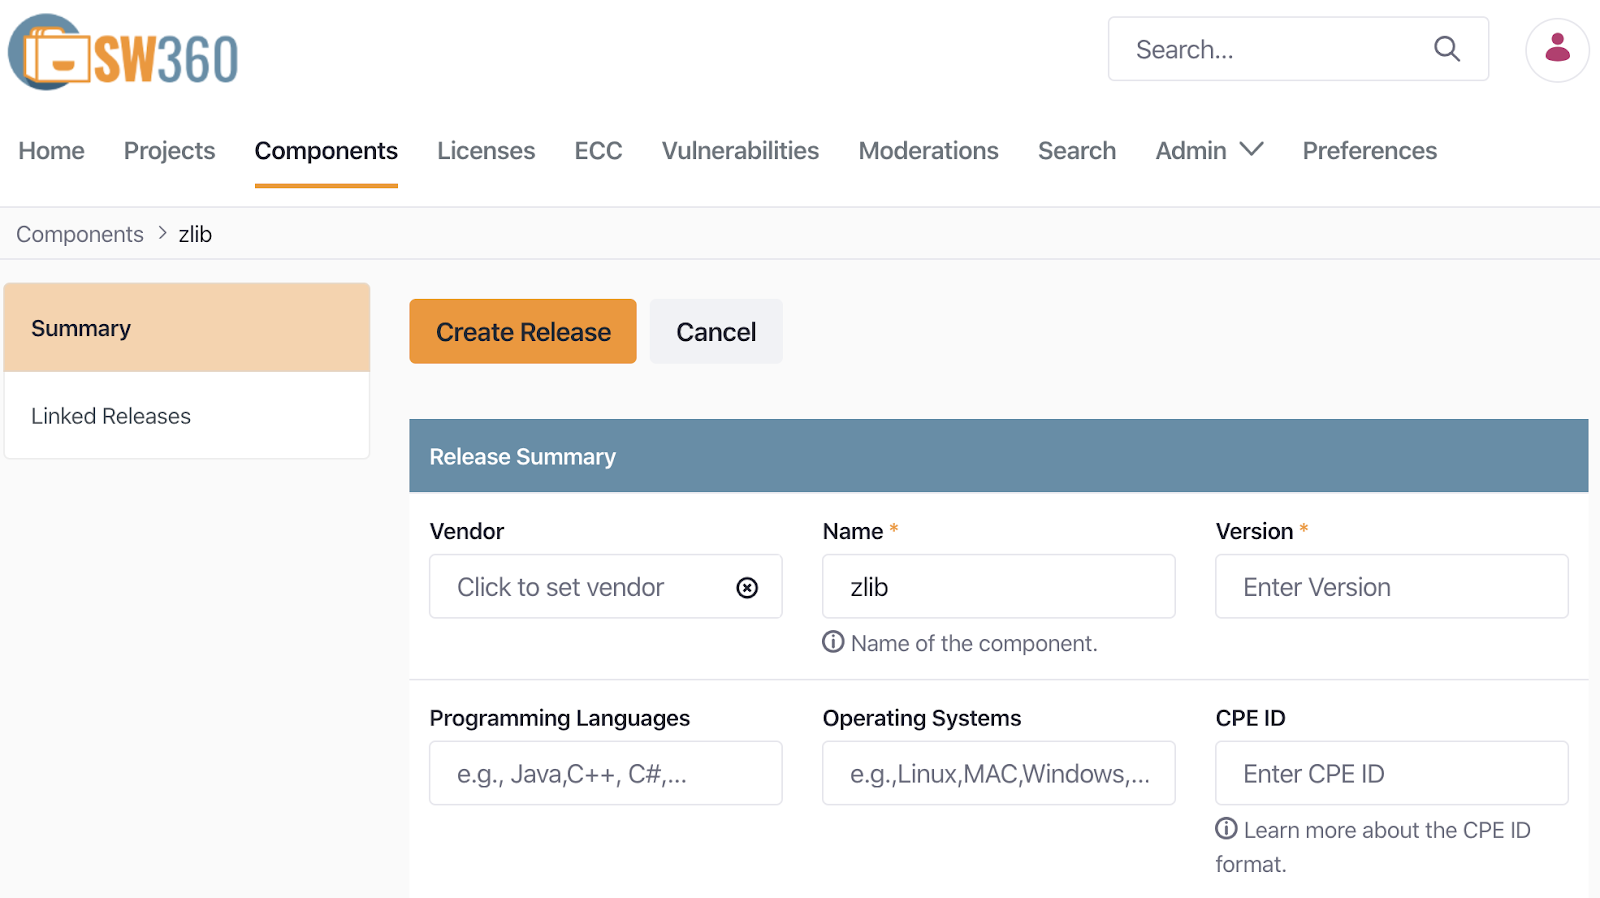
When versions 1.2.8 and 1.2.11 are each registered as Releases under the single zlib Component, the Release Overview screen shows 2 Releases existing, as below.

SW360 provides a feature for importing information for multiple Components at once. At Menu > Admin > Import / Export, you can enter the Component information you want to register into the CSV template and then import it.
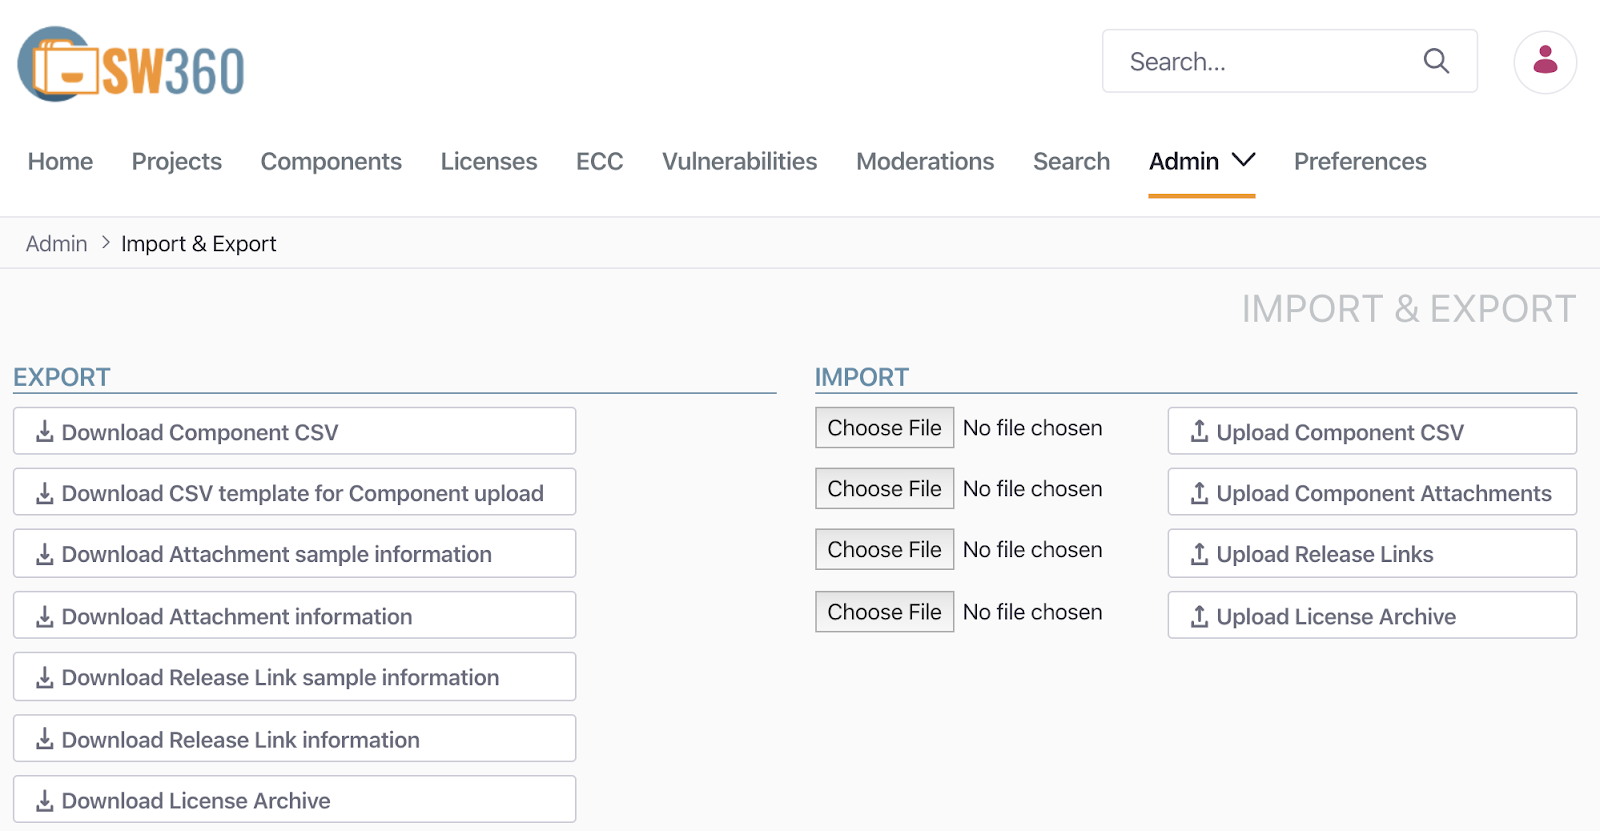
Note that, as of February 2020, this feature may not yet work reliably.
3. Creating a Project
A Project refers to a single product. Depending on the type of business, it may be a product, a service, or software. Under a Project, you register and manage the Components/Releases used in the product.
When creating a Project, you register the following information.
- Project Name
- Version
- Project type (e.g., Product, Customer Project, Service, Internal Project, InnerSource)
You can create a Project via Menu > Projects > Add Project.
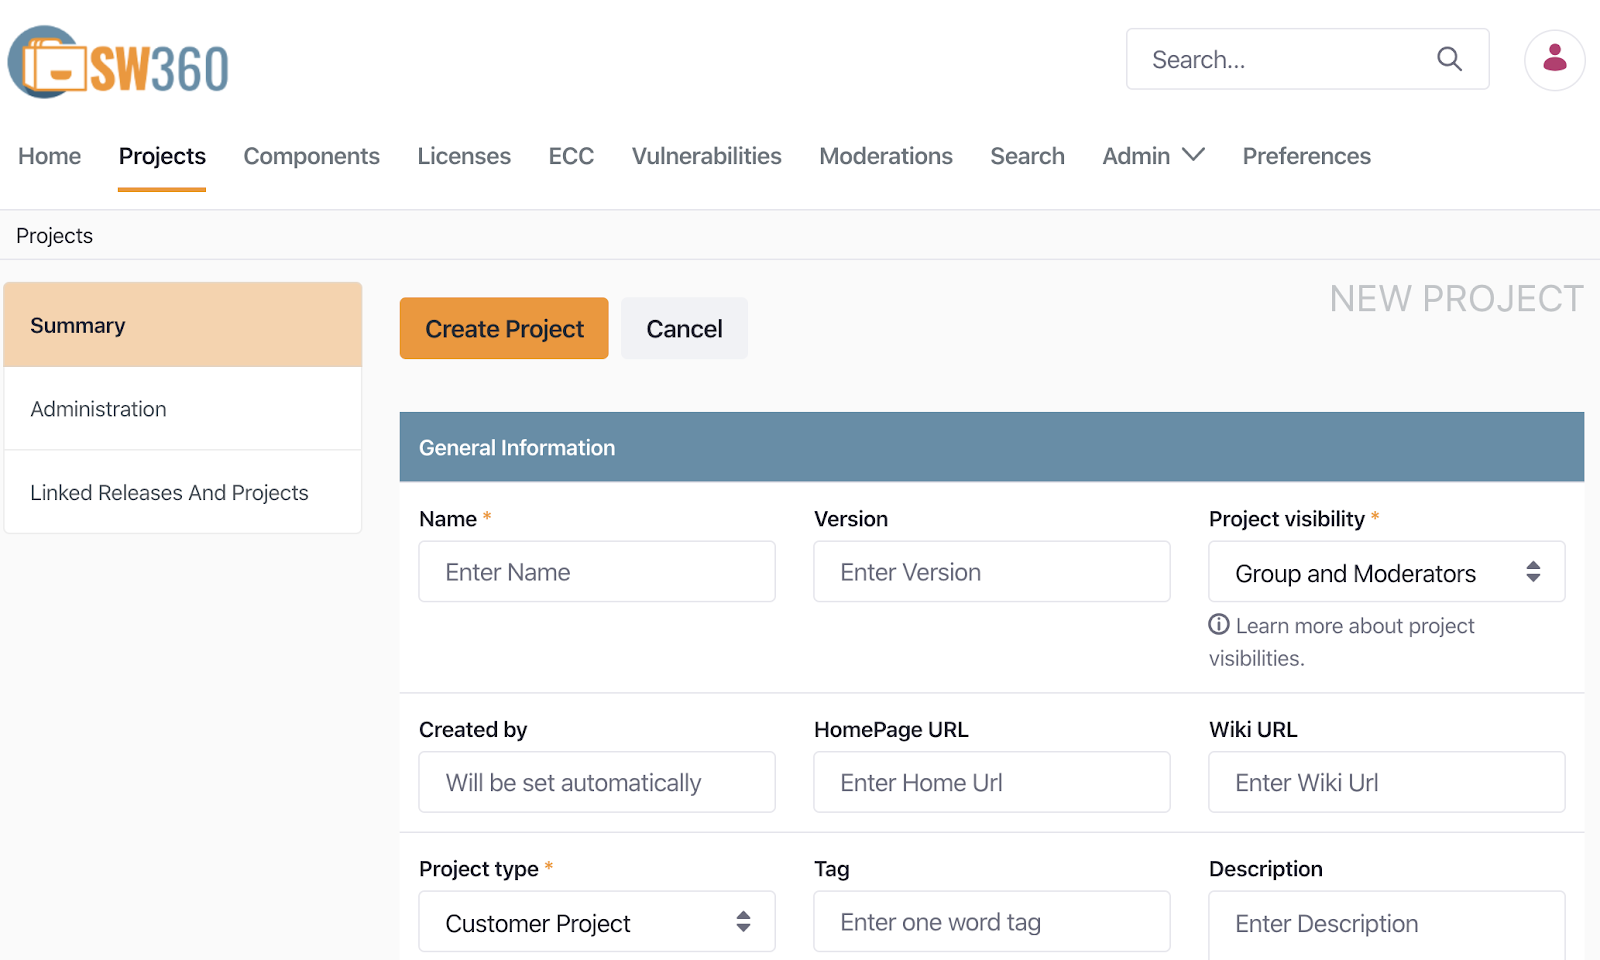
Once you create the Project, register the Releases or sub-Projects it includes. Selecting the Project at Menu > Projects lets you register Linked Projects and Linked Releases under “Linked Releases and Projects.”
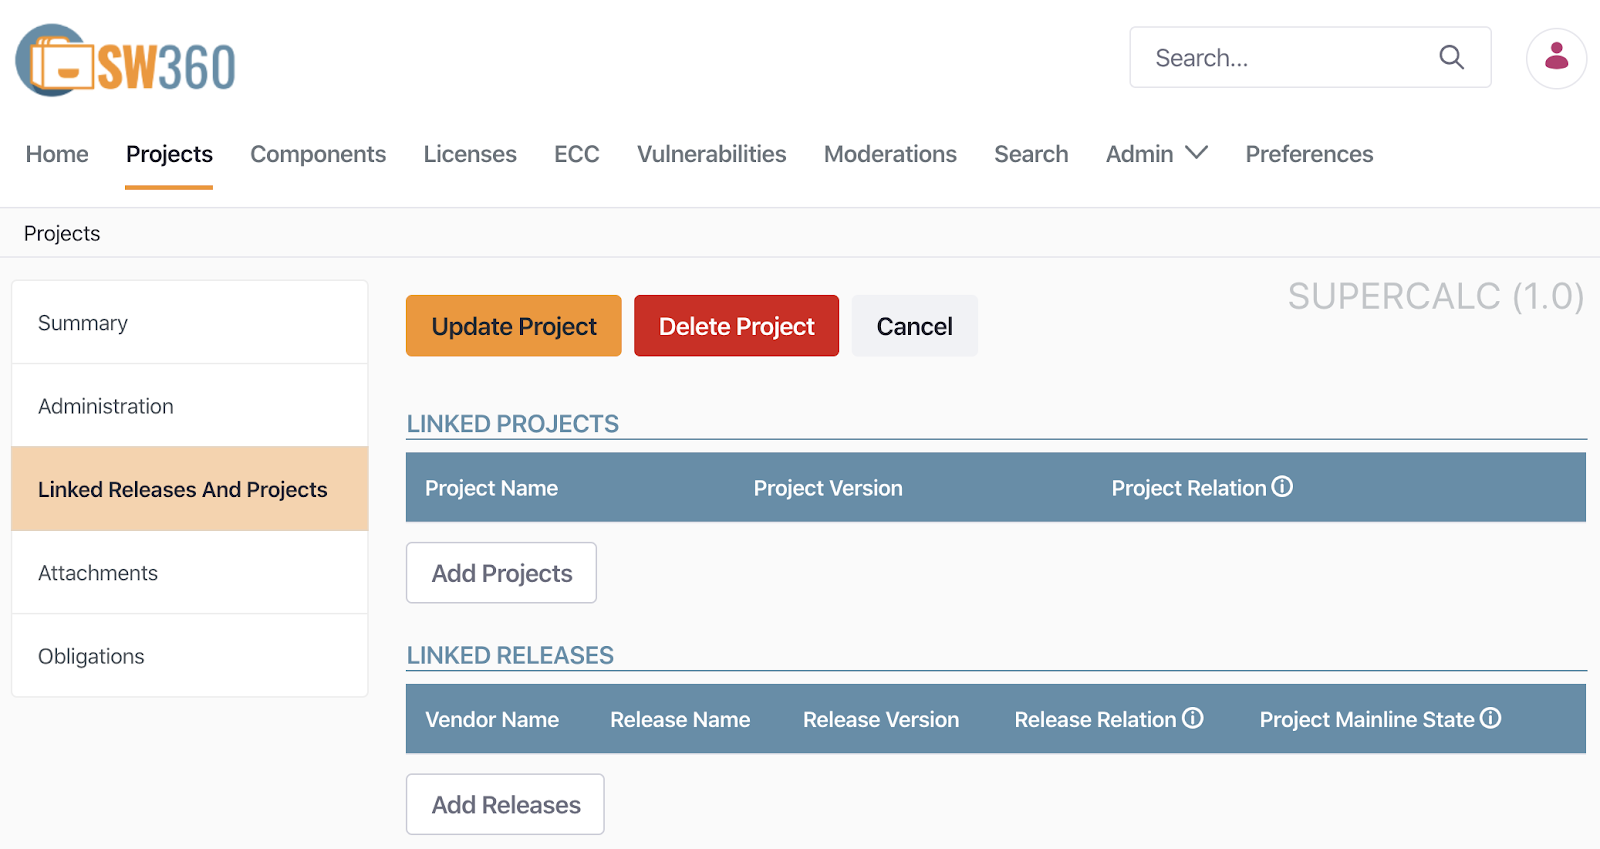
The following is the screen after registering OpenSSL 1.0.1 and zlib 1.2.8 as Linked Releases in a Project named SuperCalc.

4. Security Vulnerability Management
SW360 can automatically check whether registered Releases have security vulnerabilities. To do this, SW360 provides a feature for scheduling periodic collection of CVE information. At Menu > Admin > Schedule, you can set a schedule to collect CVE SEARCH information every 24 hours.

Once this schedule is set, SW360 collects CVE information from the CVE Search site (https://cve.circl.lu/) at the scheduled time. The collected CVE information can be checked at Menu > Vulnerabilities.

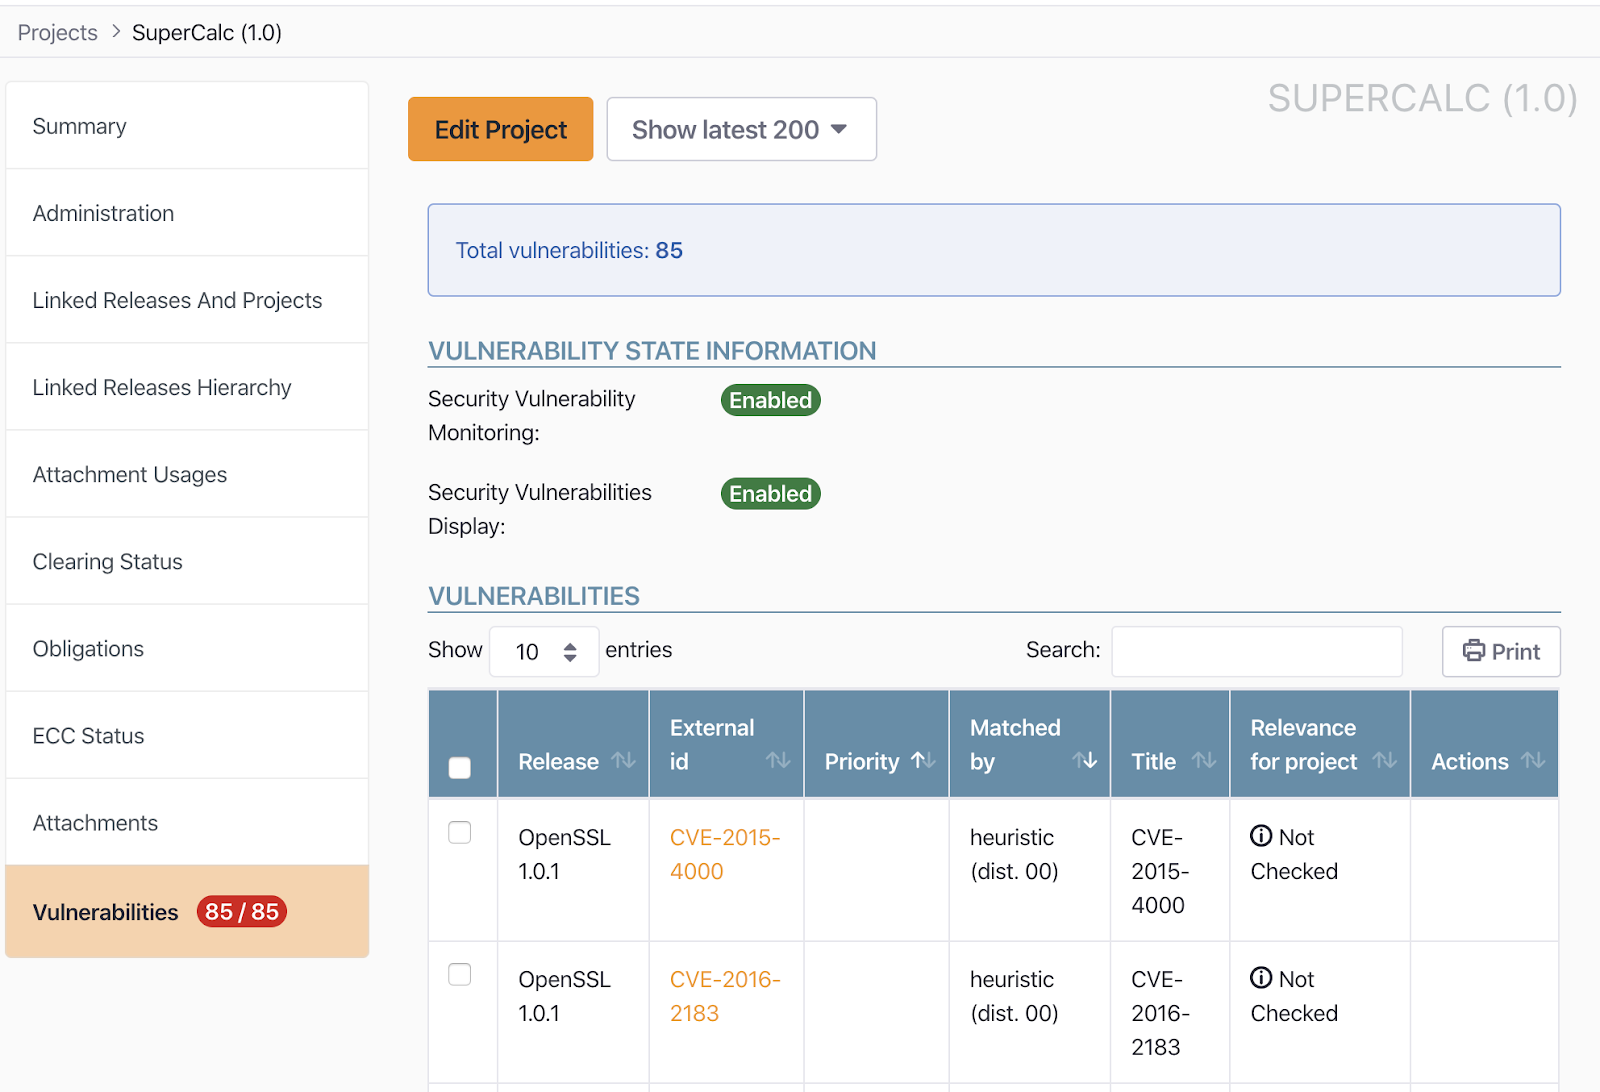
Once the Vulnerabilities information has been collected, you can query whether a created Project has security vulnerabilities. In the SuperCalc Project created above, you can confirm that 85 security vulnerabilities were reported.
By registering and managing the software a company develops and distributes in SW360 this way, you can manage it in a form that minimizes risk not only for open source compliance but also for security vulnerabilities.
SW360 also offers most of its functionality via a REST API in addition to the Web Interface above, making integration with other tools such as FOSSology possible. : https://github.com/eclipse/sw360/wiki/Dev-REST-API
In other words, integrating this into DevOps by, for example, importing the analysis results of a source code scanning tool into SW360, and automating the registration of Projects and Releases, would greatly increase efficiency.